This article will guide you to how to do the Lab Verification of the Pathology Test.
1. Create an Appointment of a Patient for the Lab Pathology Test as guided in the Add new Appointment and sample and accession article, for more details please click here. For Collection And click here for Accept the sample
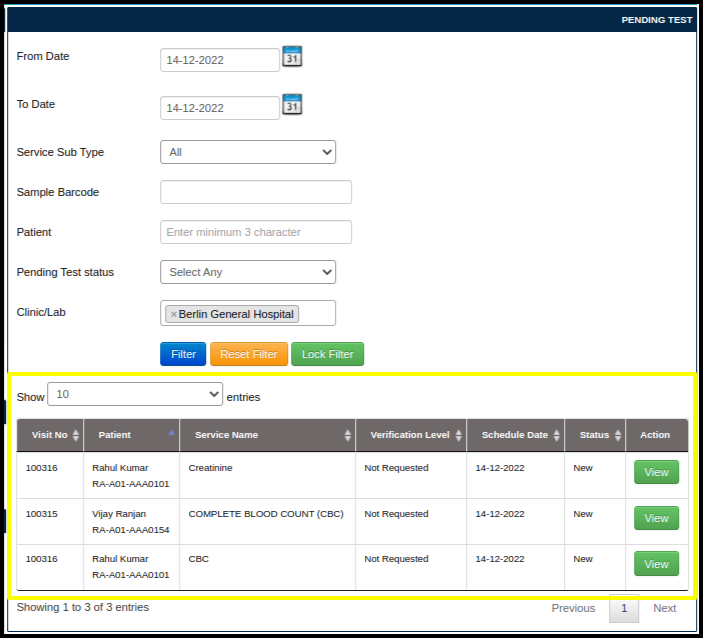
2. Once the Sample Collection and Accession is done, in the Pending test the Test is shown that needs to be updated with the parameter values.
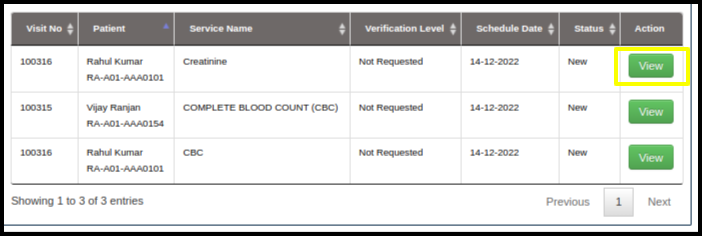
3. By clicking on the view button , it will redirect to the Service consultation page, where the parameter value will be updated.
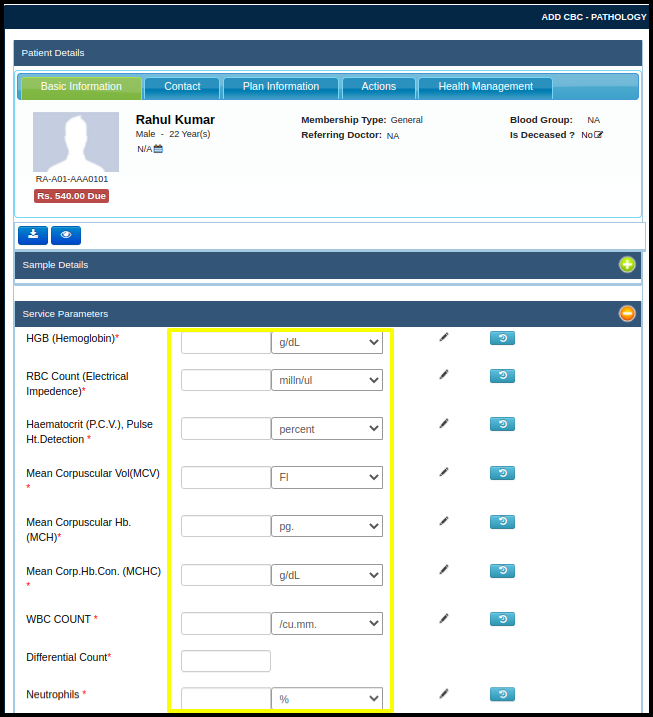
4. On the Service Consultation page, the Parameter will be updated as per the findings by the Lab Technician.
5. Once updated with Parameter value the Lab Technician will Click on Save draft to save the Values.

6. After the values are saved, the lab technician has to Verify the Level1 of the Lab Verification.
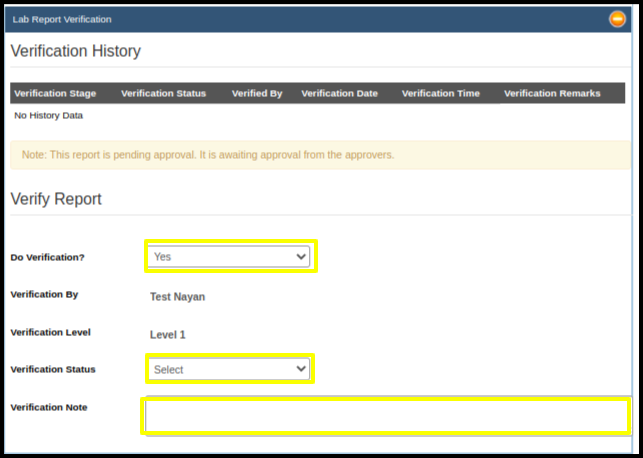
A. Do verification: There is a drop down whether verification needs to be done now or not now . so two options to select Yes or Not now.
B. Verification By: Lab Verifier Name.
C. Verification Status:- Accepted or Rejected as per the test Output.
D. Verification notes:- in Case required to add some notes.
7. After the Level 1 Verification click on the Save Draft Button,

8. After Level1 Verification, the Level 2 Verification is done by the Lab manager same as Lab technician, here the lab manager can see the Verification history of the test done by lab technician.
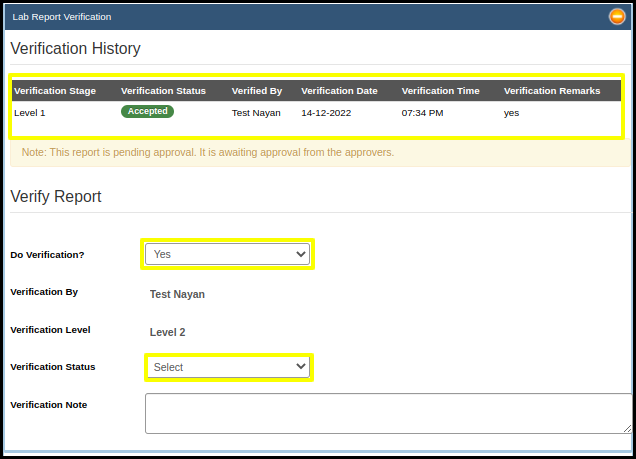
A. Do verification: There is a drop down whether verification needs to be done now or not now. So two options to select Yes or Not now.
B. Verification By: Lab Verifier Name.
C. Verification Status: Accepted or Rejected as per the test Output.
D. Verification notes: in Case required to add some notes.
9. And finally, once the Verification details are filled, the Lab Manager will Save draft the test by clicking on the Save Draft.