This article will guide you to admit the patient
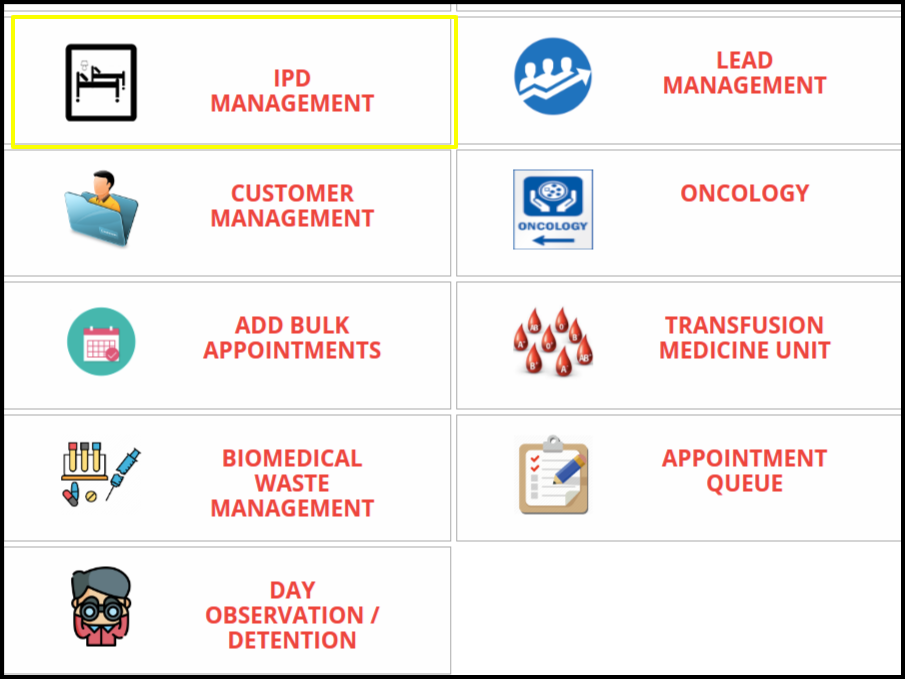
1. Click on the IPD module from the control panel
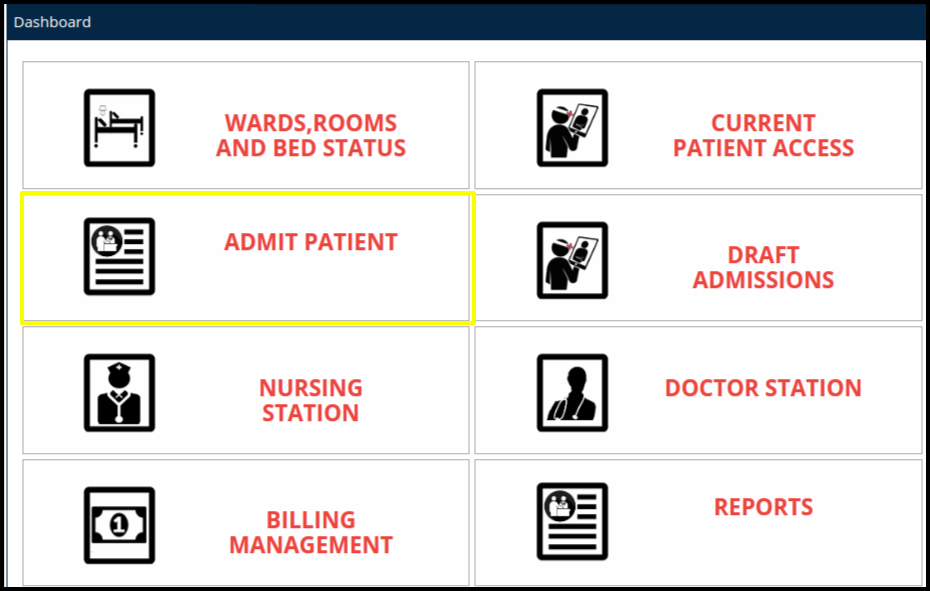
2. Click on the Admit patient from the IPD module
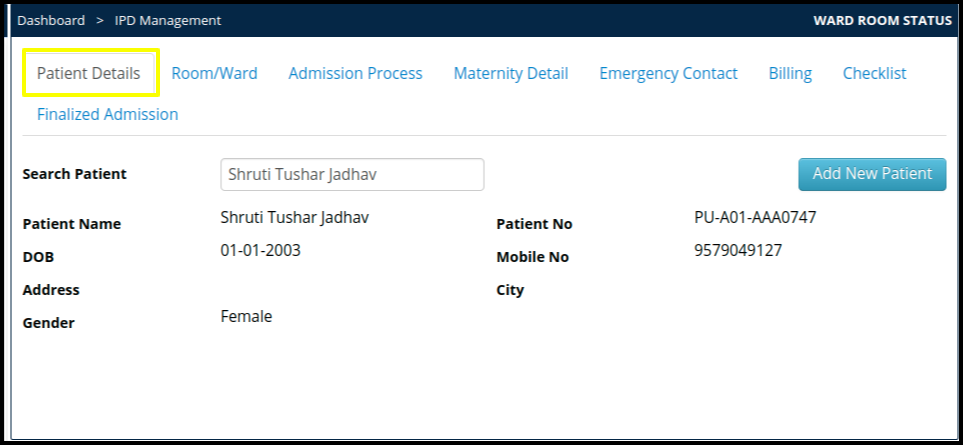
3. To admit a new patient in the IPD click on the “Add new Patient”
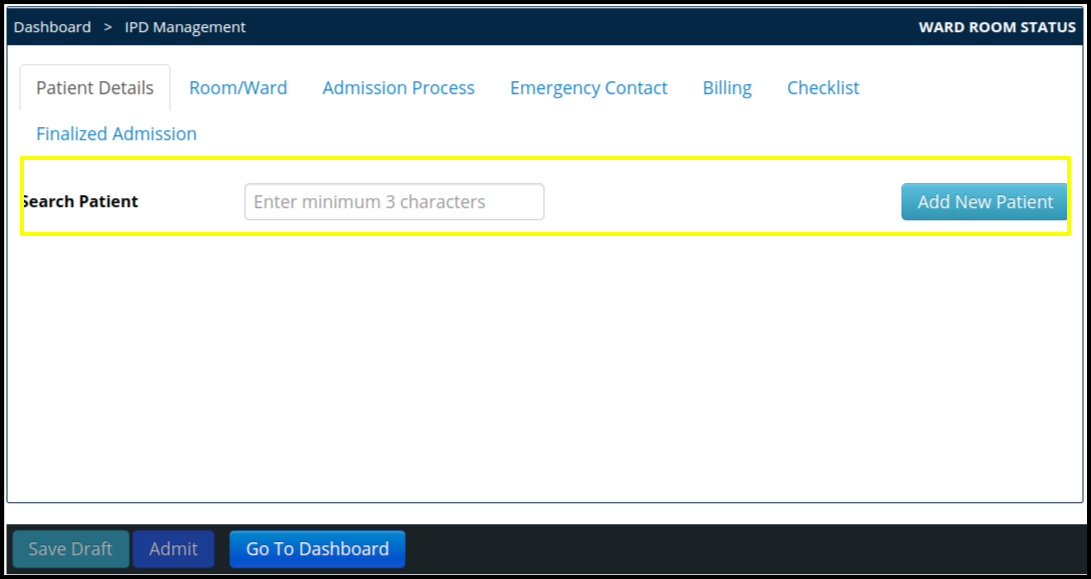
4. Once the click on the “Add new Patient”, users need to fill up the relevant filed that is given below
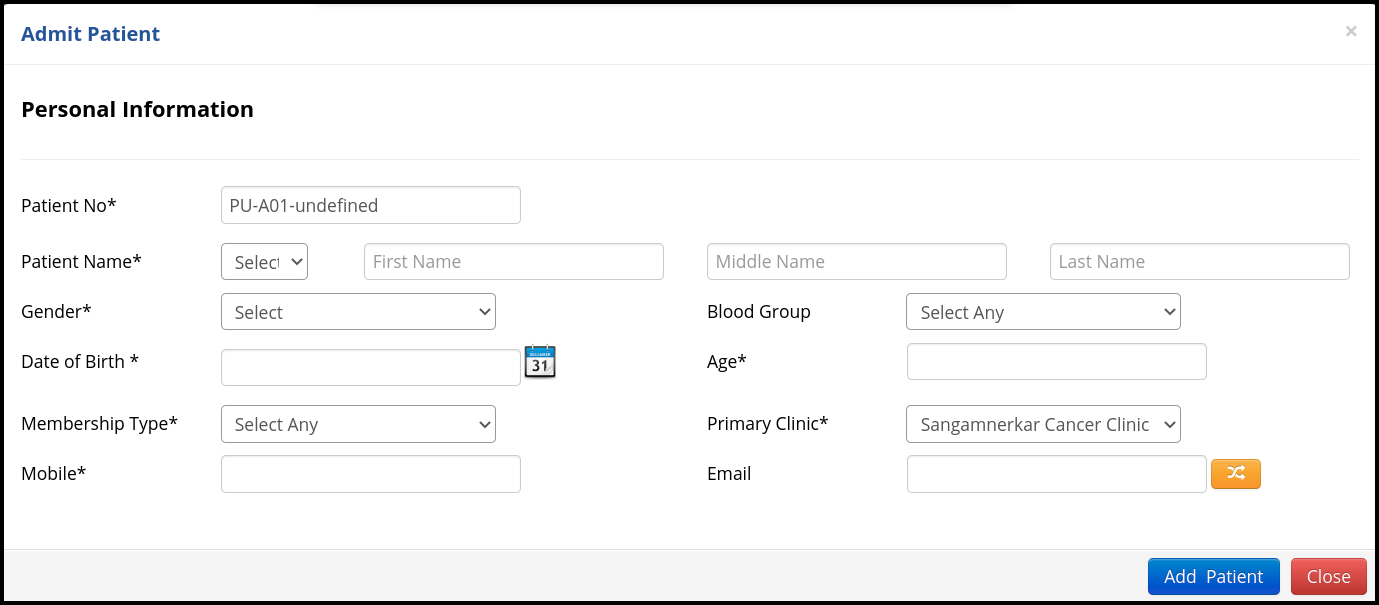
- Patient number: Patient number will be reflected automatically in the tab
- Patient Name: Patient name should be mandatory in the tab
- Gender: Gender should be selected according to the gender of the patient
- Blood Group: Blood group should be selected according to the patient from the drop down list
- Date of Birth: It should be required according to the patient
- Age: Here age will be reflected according to the patient DOB
- Membership Type: Here membership type will be mandatory and it’s selected from the drop down list
- Mobile: Mobile number should be mandatory in the fields
- Primary Clinic: Here primary clinic should be mandatory in the fields
- Email: Email Id can update in the fields
5. Once you add the patient, users need to fill up the following tab in the screen to admit the patient in the IPD
Theses are the tab where users need to fill up the relevant fields that is
- Patient details: In the patient details, users need to register the new patient by clicking on Add new patient (That we have already explained in the point number 3 & 4 )
- Room/Ward: In this tab we can add the available room and ward
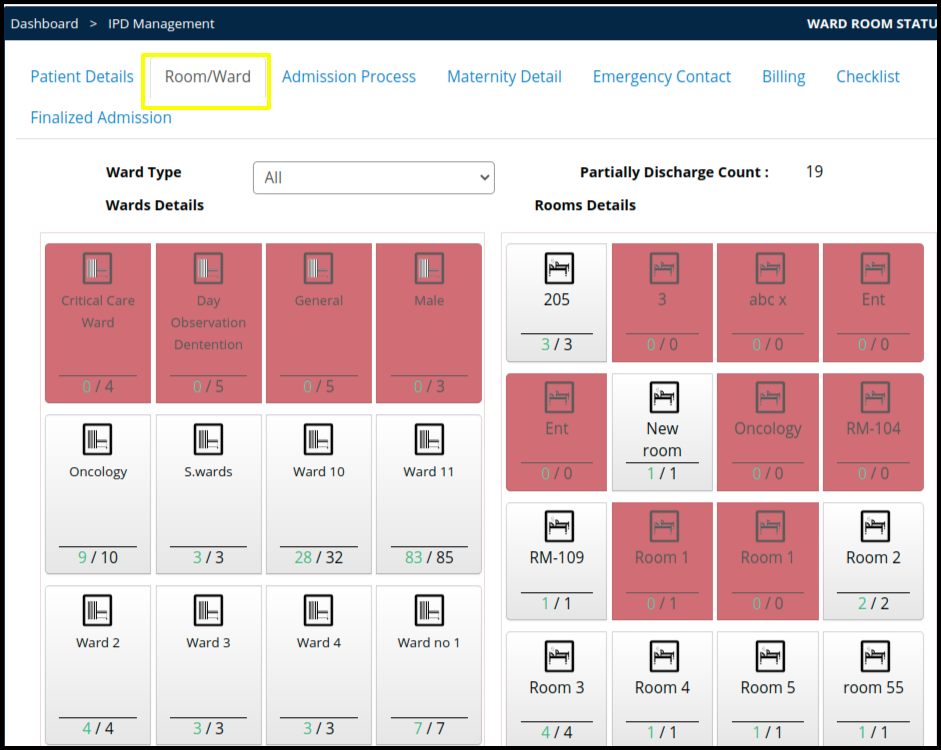
A. In this tab users can differentiate the available and occupied room and wards which is differentiated in two color code which is given below
- White: The White color code will be defined the available wards and room
- Red: The Red color code will be defined the occupied wards and room.
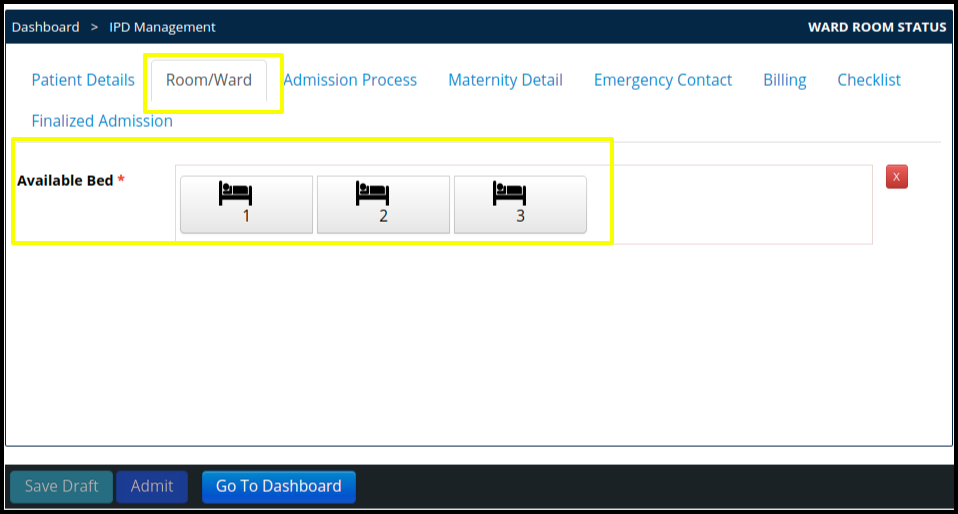
B. In this tab user will get one more screen that is Available bed where users need to select the available bed for admitting the patient.
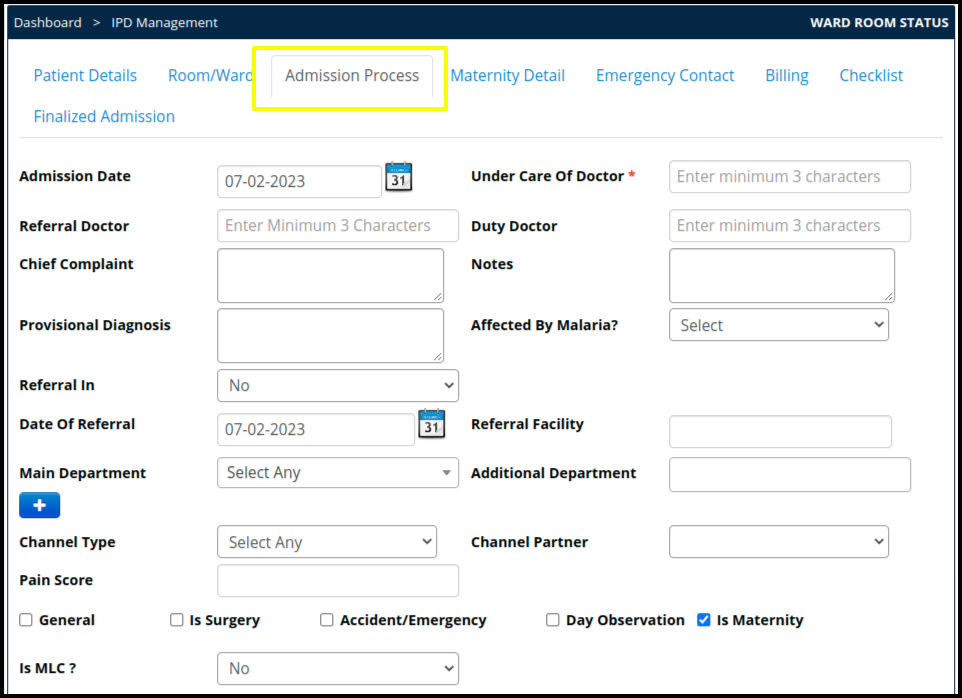
- Admission Process: In the admission process, we can add the following fields such as
A. Admission Date: Here users need to update the Admit Date
B. Under a Care Of Doctor: Here users need to select the under a care of doctor and its mandatory field
C. Referral Doctor: Here users can add the referral doctor if required, but it’s not mandatory fields
D. Duty Doctor: users can add the duty doctor, but it’s not a mandatory field
E. Chief Complaintc: users can put chief complaint if required
F. Notes: Put a note if required
G. Provisional Diagnosis: put provisional diagnosis if required
H. Affected By Malaria?: if affected then selected from the drop down
I. Referral In: check the referral from the drop down
J. Date of Referral: Select the date of the referral
K. Main Department: Here users can select the modality
L. Additional Department: Put an additional Department
M. Channel Type: Select the channel type from the drop down if required
N.Channel Partner: Select the partner from the drop down if required
O. Pain Score: Put a pain score according to the patient
P. General, is surgery, Accident/Emergancy, Day Observation, Is Maternity
Q. Is MLC: Here users can select the MLC option if required - Emergency Contact Details:
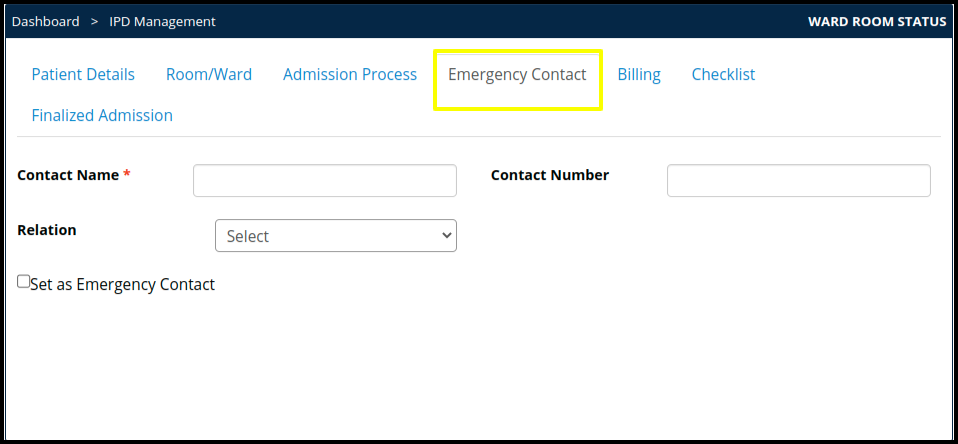
A. Contact Name: Here we can add the person’s name who has easily available at the emergency point of time
B. Contact Number: Here add the contact number of the person
C. Relation: Here select the relation of the contact person with the patient
D. Set as Emergency Contact: Put tick mark on the emergency.
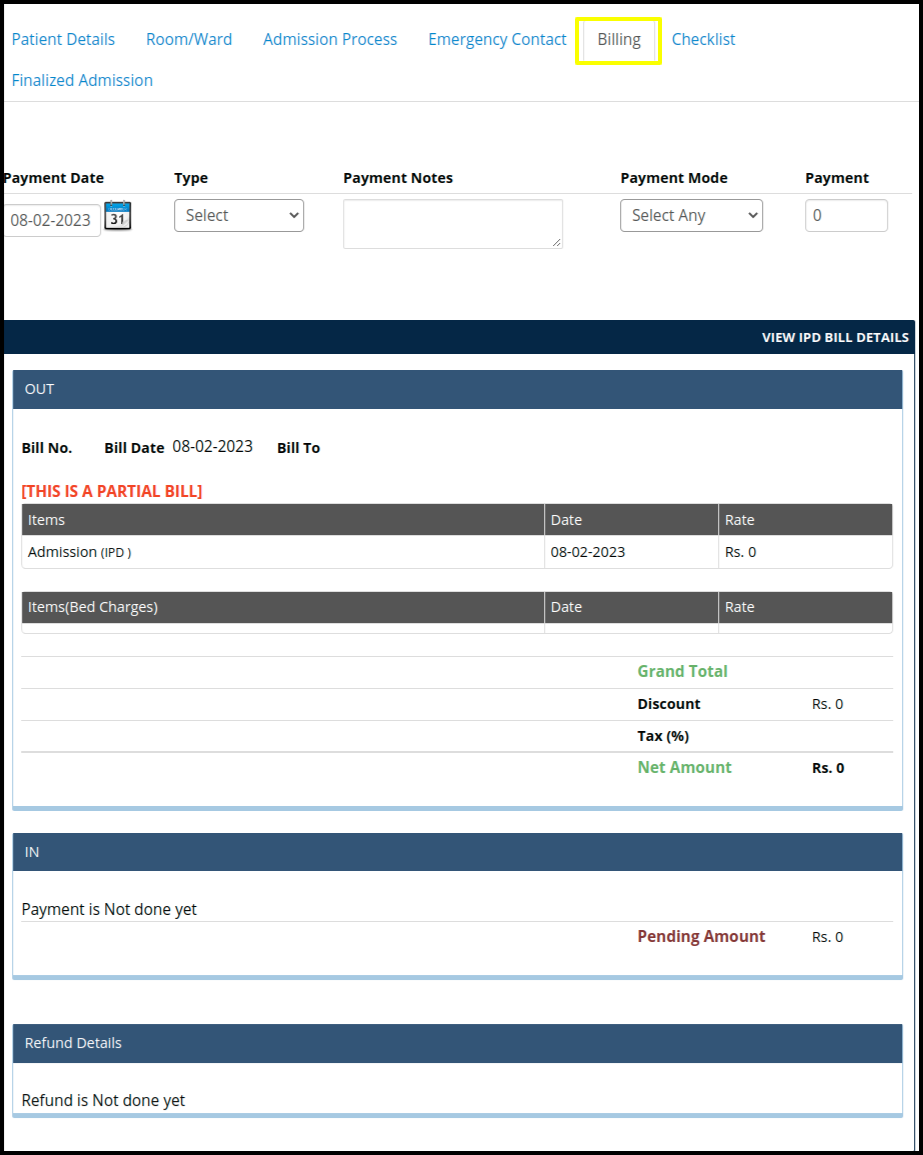
- Billing: Here users can add the payment in IPD billing
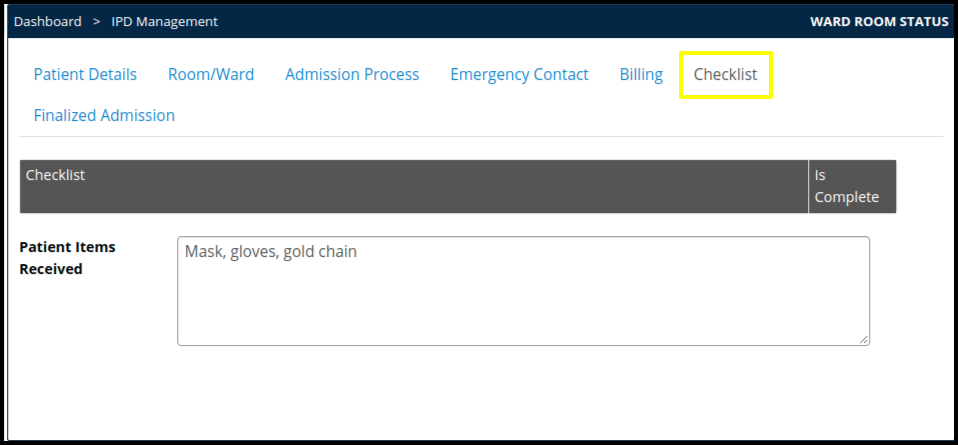
- Checklist: Here users can add the received items from the patient while admitting the patient
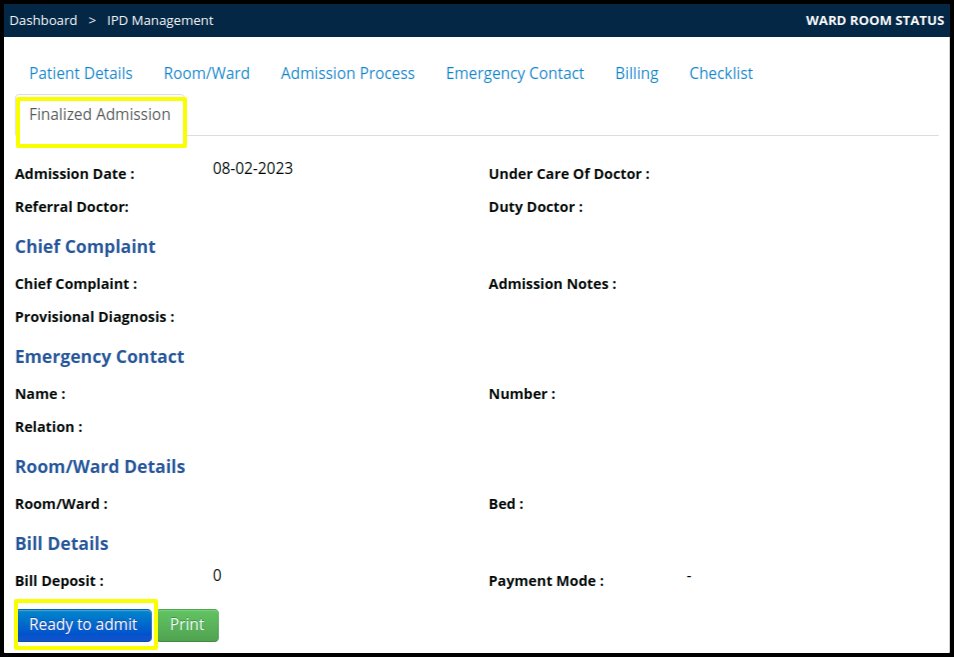
- Finalized Admission: Here users click on the “ready to admit” for finalized the admission
