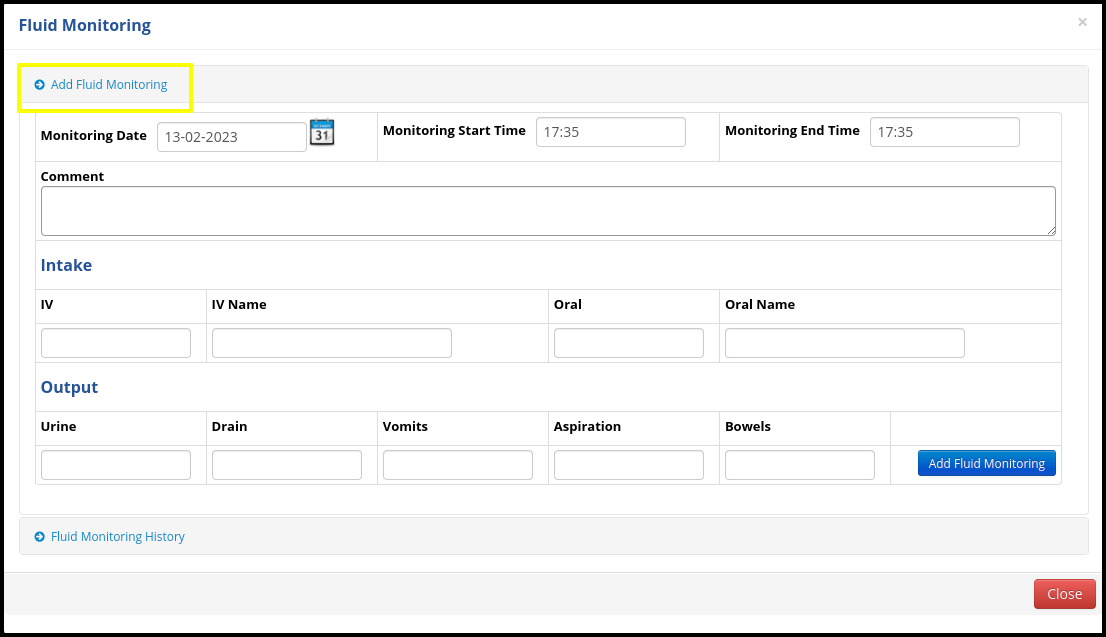
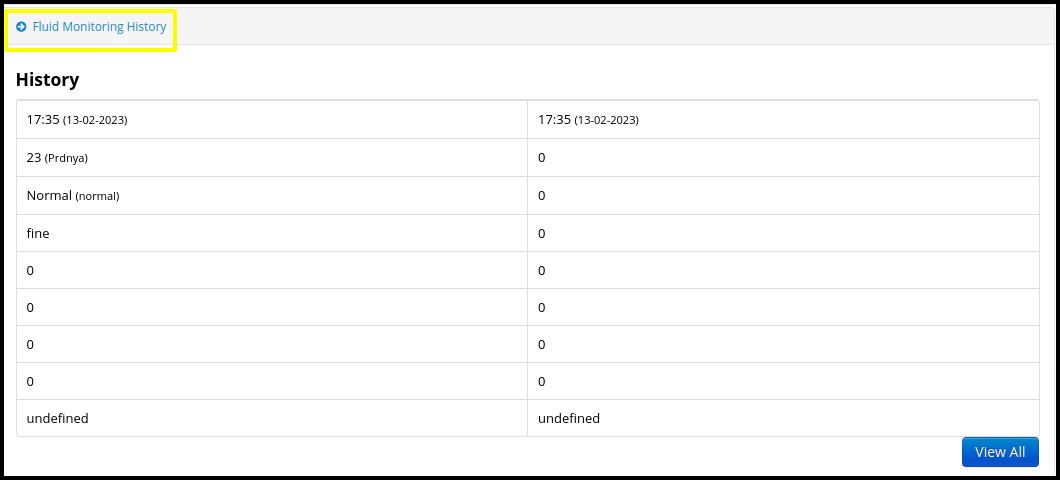
This article will guide you to update the IPD patient records
1. Click on the IPD module on the control panel
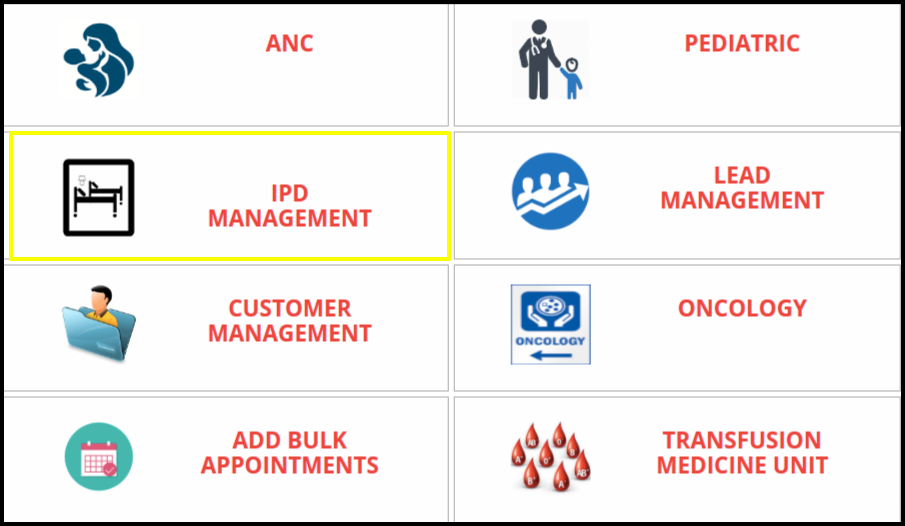
2. To check the IPD patient record user need to click on the Admit patient, but here I have already created one article related to admit patient so refer to this article click here
3. Once users admit the patient from the admit patient tab, then it’s come under the current patient access tab, but here I have already created one article related to current patient access so refer to this article click here
4. Once the patient come under the current patient access, then click on the view button to update the IPD patient records

5. Once the users click on the “view” button, then IPD manager screen will be displayed
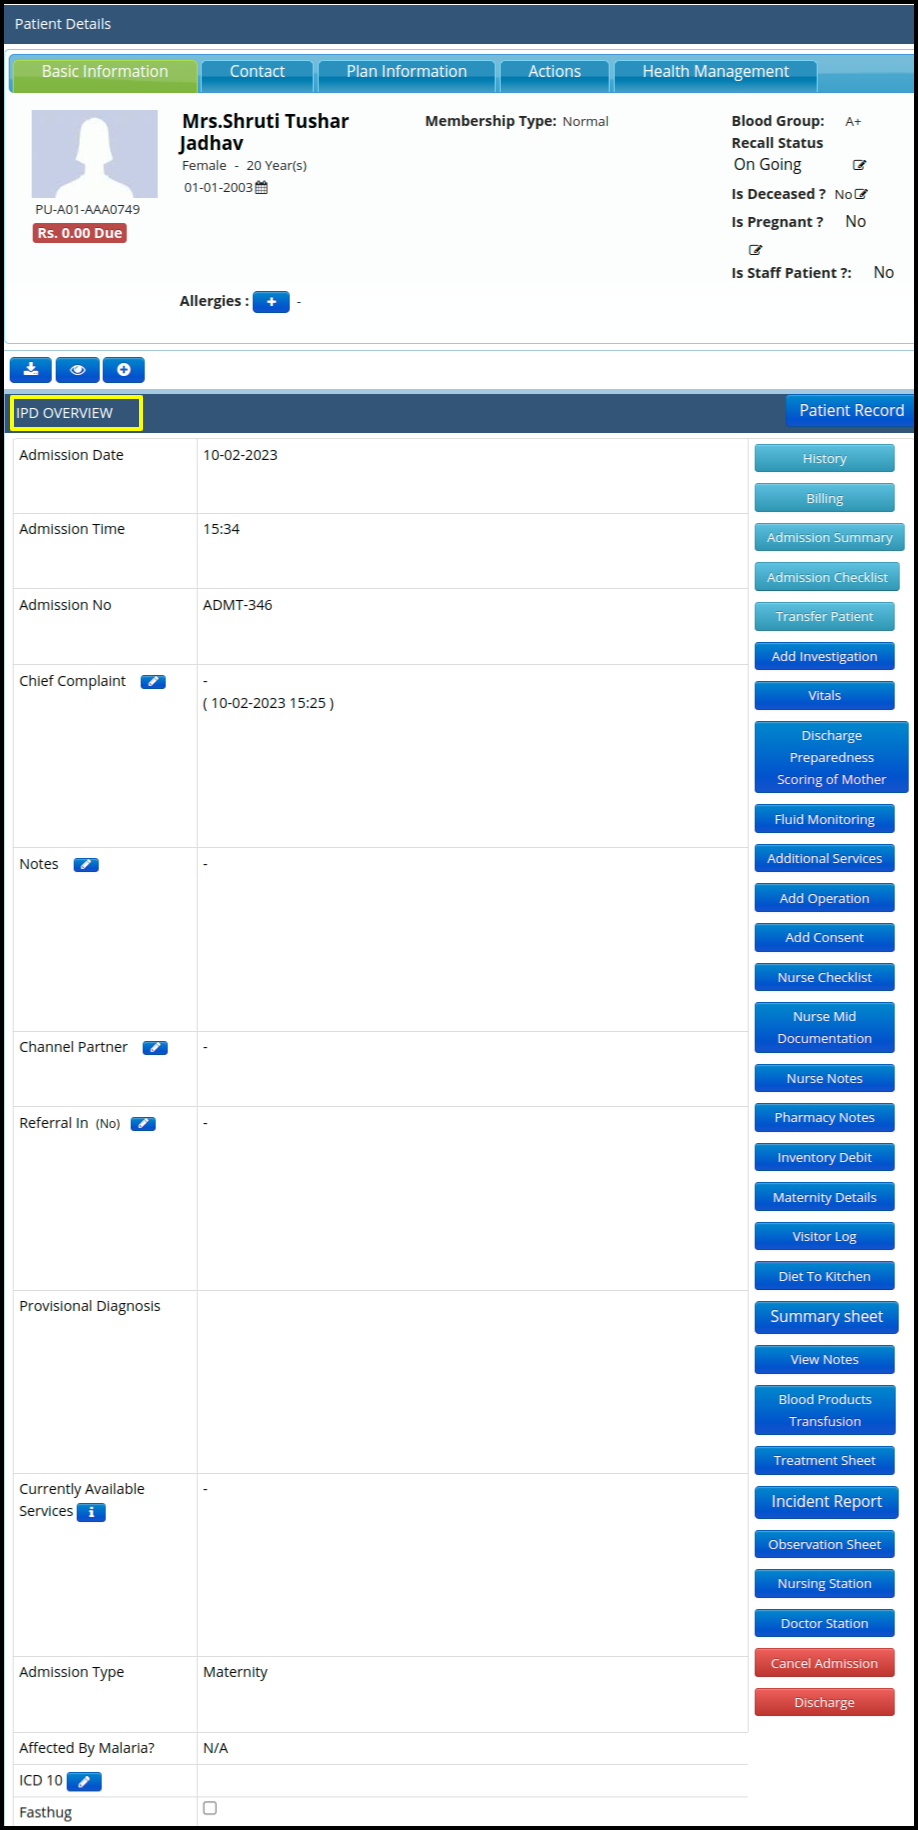
- Users can check the past medical history by clicking on the “History” button


- Users can check the IPD Bill by clicking on the “Billing” button.
![]()
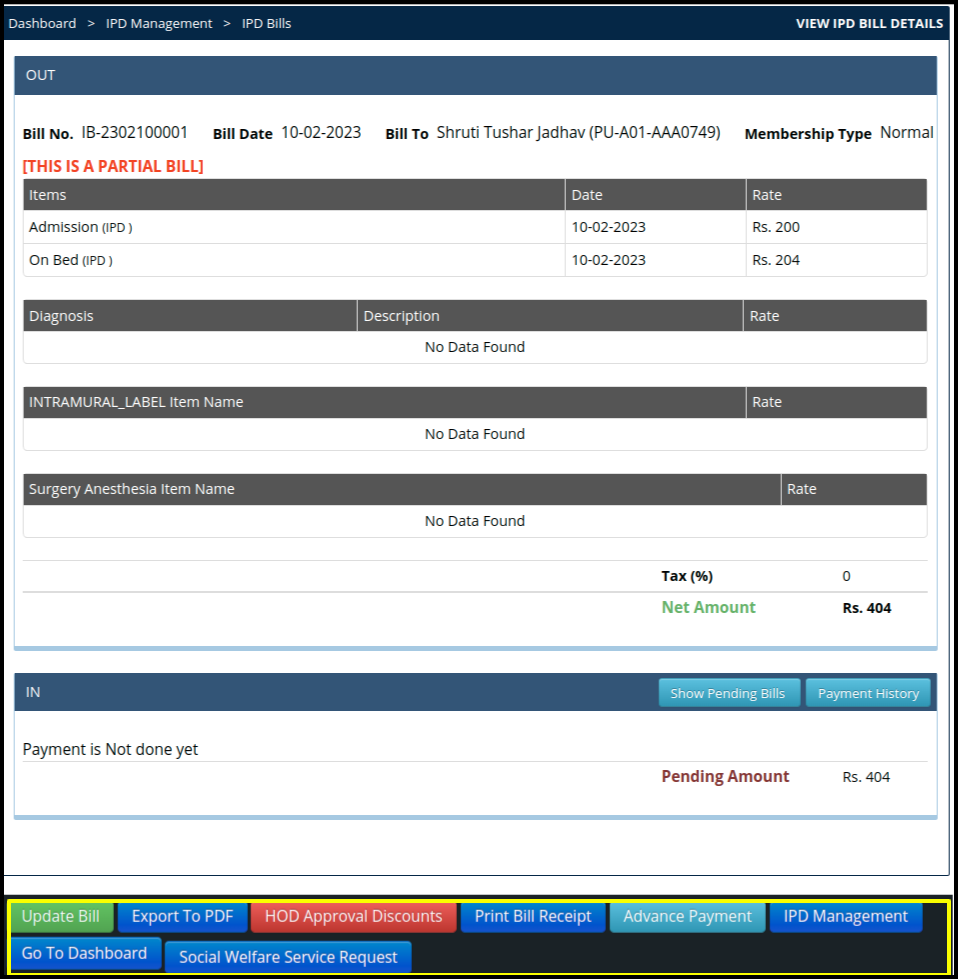
A.Here users can update the bills by clicking on the “Update Bill” Button.
B. Here users can Export this report into excel format by clicking on the Export to Excel
C. Here users can put the discount amount and save the HOD approve discount by clicking on the “HOD Approval Discount”
D. Here Users can take printout of the bill in PDF format by clicking on the “print bill Receipt”
E. Here users can update the advance payment by clicking on the “Advance payment” button
- Users can check the Admission summary by clicking on the “Admission Summary” button.
![]()
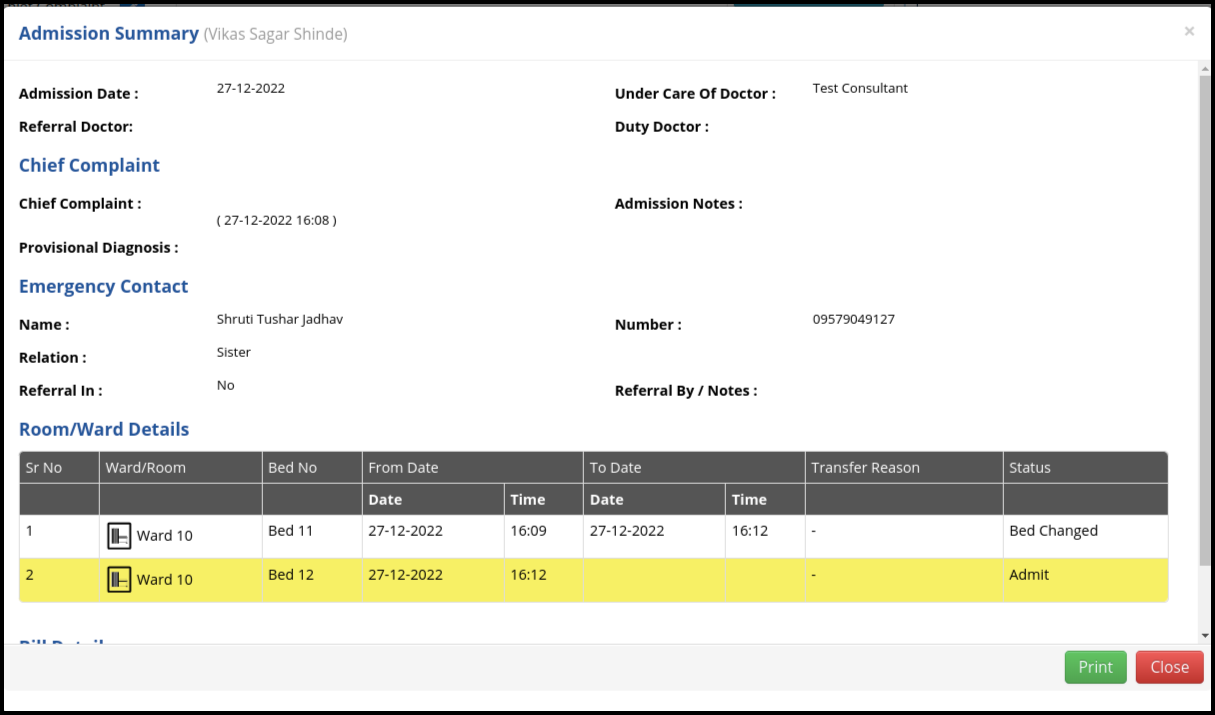

- Users can transfer the same patient from one word to another ward by clicking on the “Transfer Patient” button.
![]()
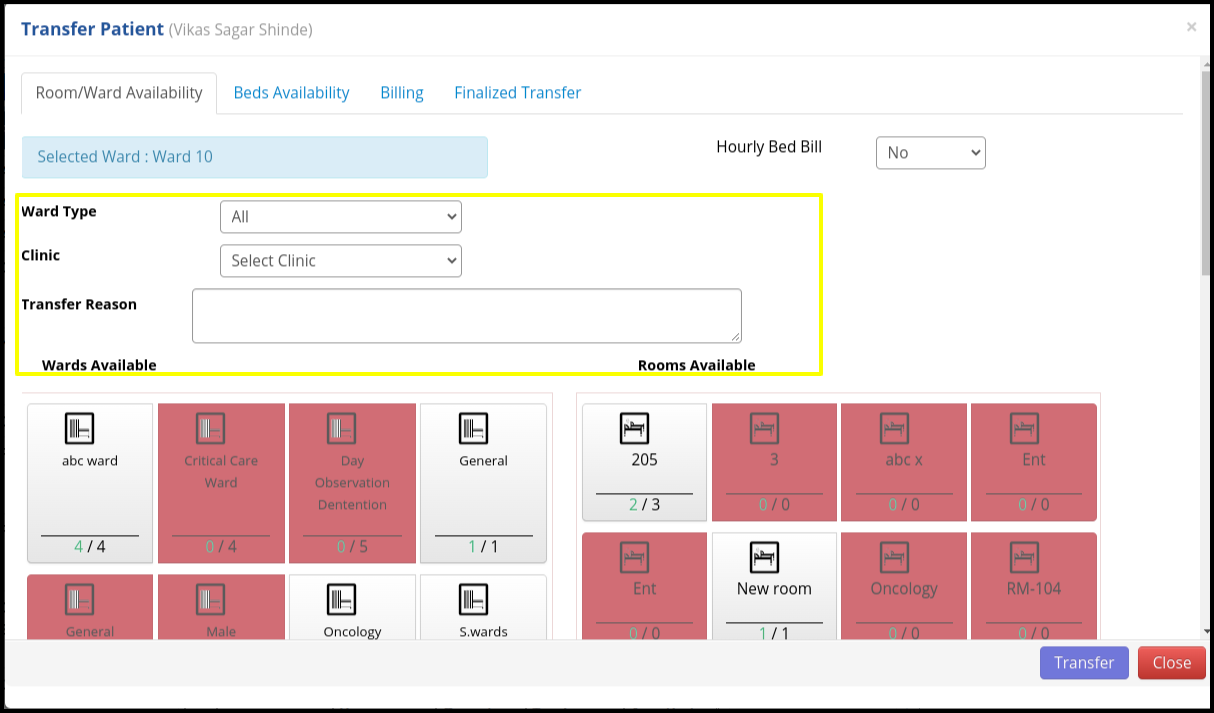 A. Room & Wards Availability: In the room & wards availability users need to select the following points such as
- Ward Type: Select the ward type to transfer the patient
- Clinic: Users need to select the clinic name from the drop down list if in case of multi setup available in the one clinic.
- Transfer reason: Users need to put the transfer reason in a descriptive mode in descriptive box.
- Wards & Room Available: Select the ward or room from the available slots.
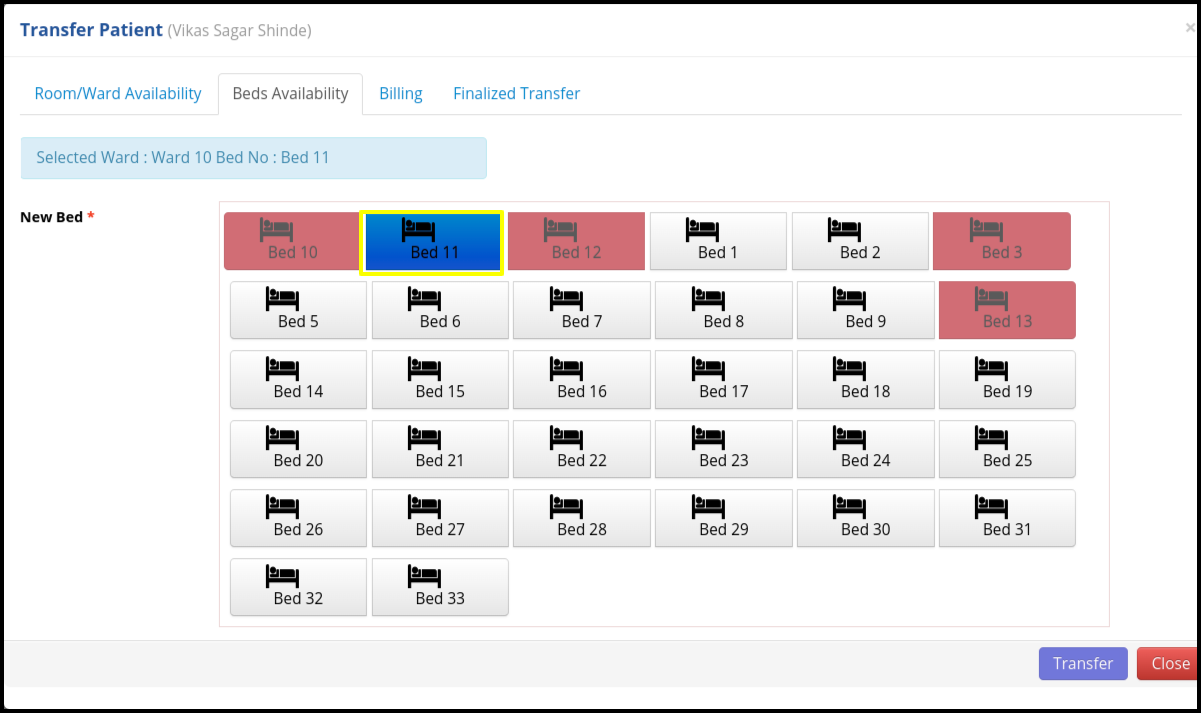
B. Beds Availability: In the Beds availability users need to select the transfer bed which is available in the list as per the requirement
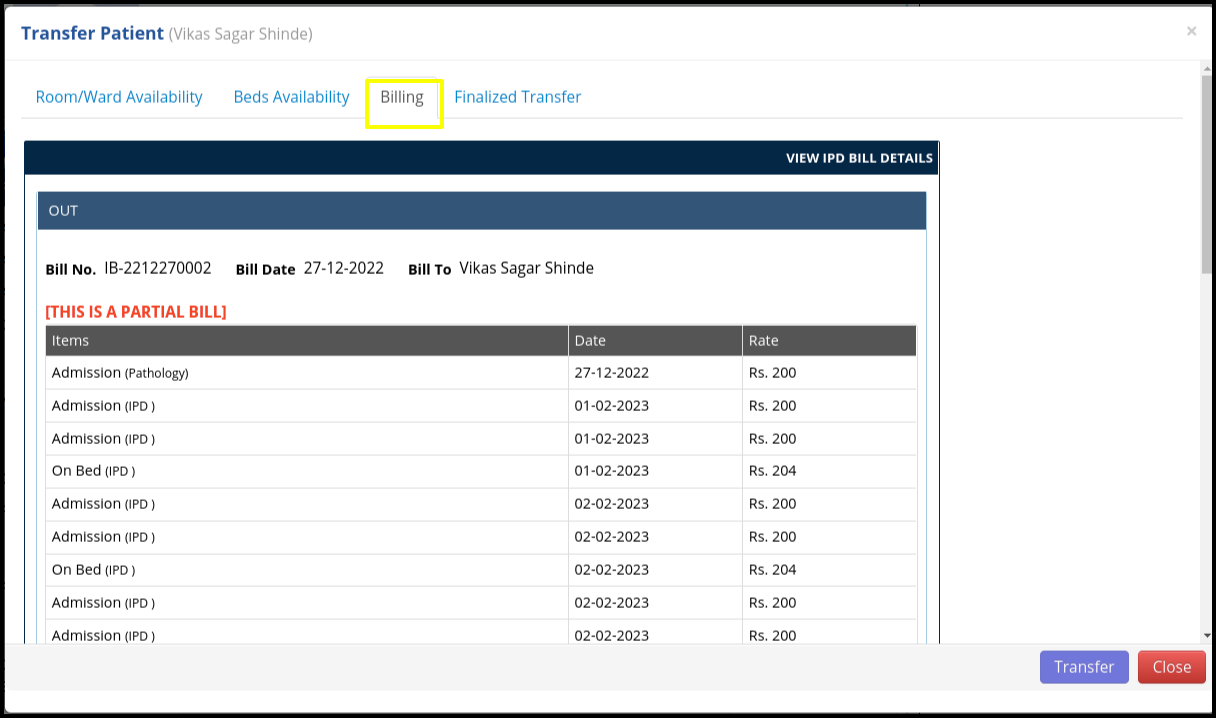
C. Billing: In the billing, users can view the IPD Bills.
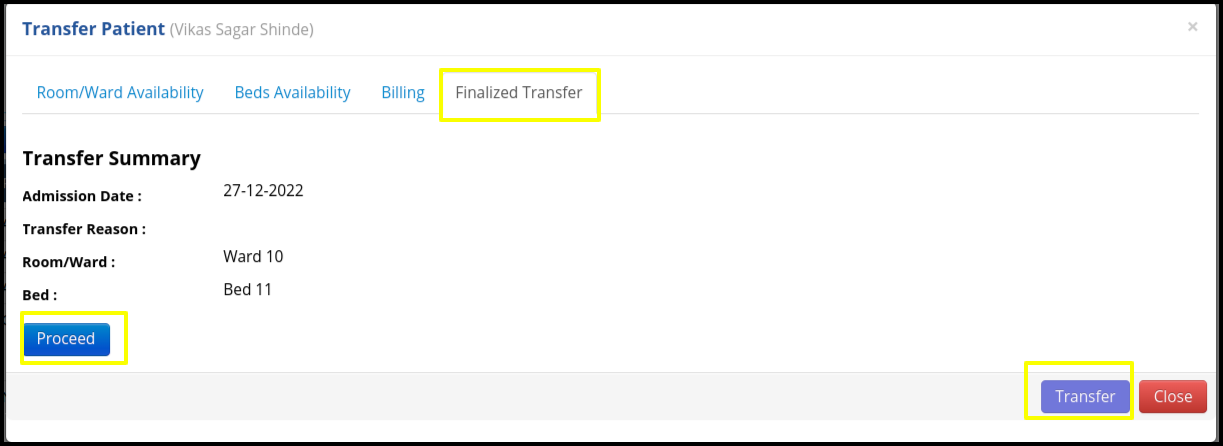
D. Finalized Transfer: Users need to check the transfer summary and click to proceed button to proceed the transfer process then click on the transfer button to transfer the patient from one ward to another ward.
- Users need to add the investigation on bed or else suggest any consultation or test while admitting the patient in the IPD
![]()

A. Patient Details: Here users can check the patient details
B. Treatment Details: Here users can check the treatment details
C. Show encounters Details: In the encounter details users can update the patient history, vitals, Prescription, Recommendation, and attachment
D. Diet recommendation: Here users can suggest the diet
E. Diagnosis: Here users can diagnose the provision with the ICD-10 Code
And then click on the “save finalized” button to finalize the details
- Users can update the new vital as well as check the updated vital in the vital history
![]()
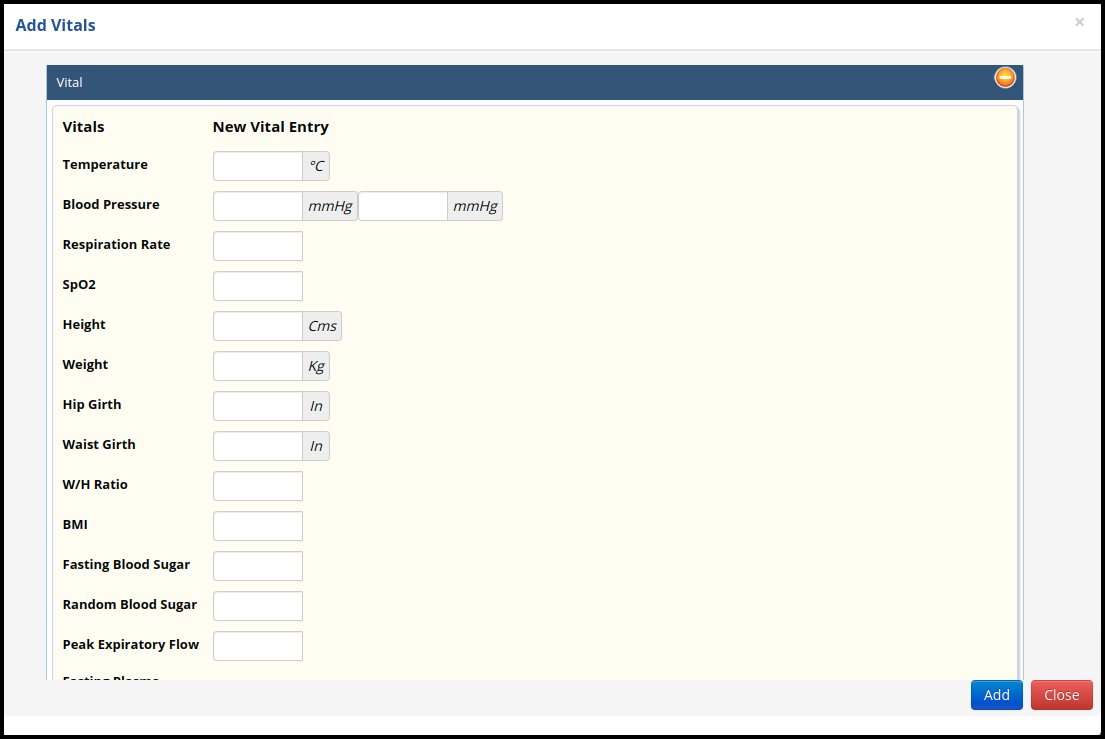

- Users can add as well as check the fluid monitoring here.
