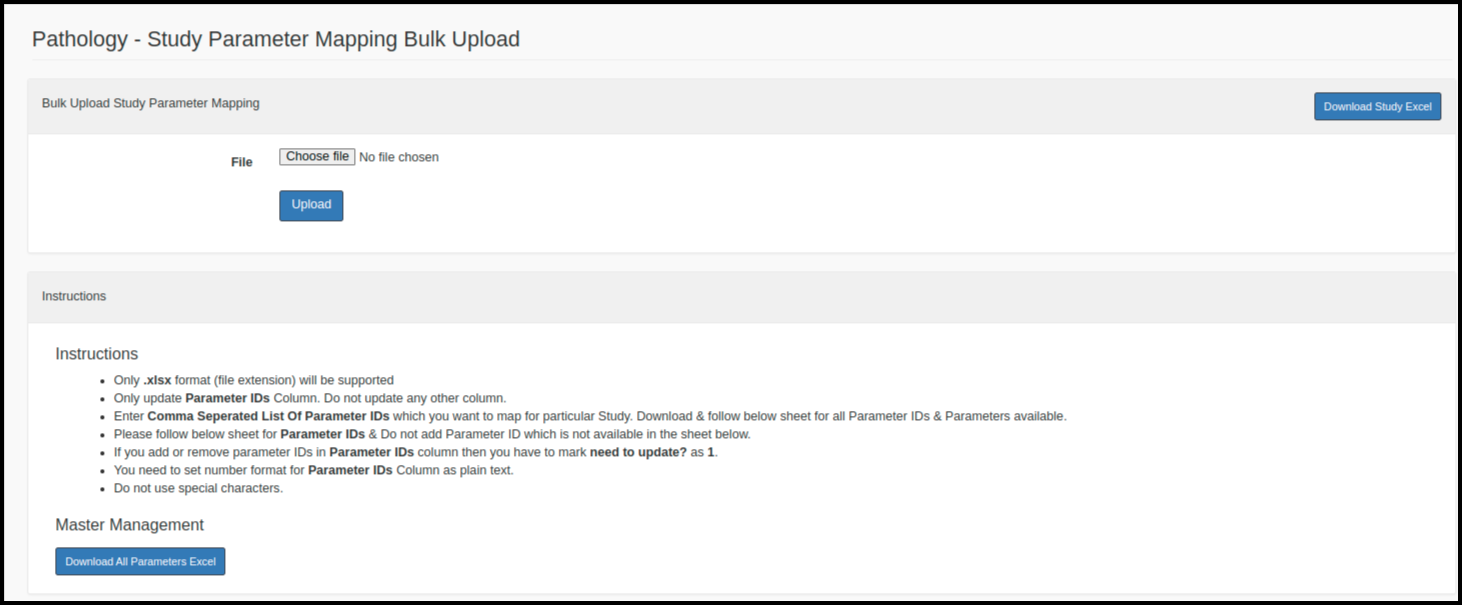
This article will guide you on ‘Manage Study Parameters’.
The user needs to be follow bellow steps.
1. Login into the CPH Link, the Dahsboard screen will be displayed.
2. Click on the Management option, check for the ‘Manage Study Parameters’ option from the Management, click on it to enter into the respective screen.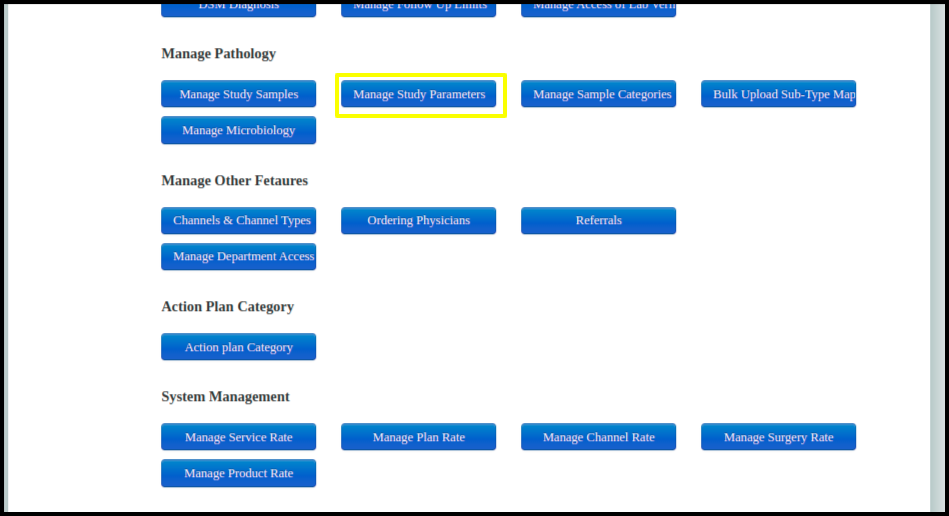
3. Once entered into the ‘Manage Study Parameters’ Screen, user will be able to view the added parameters List.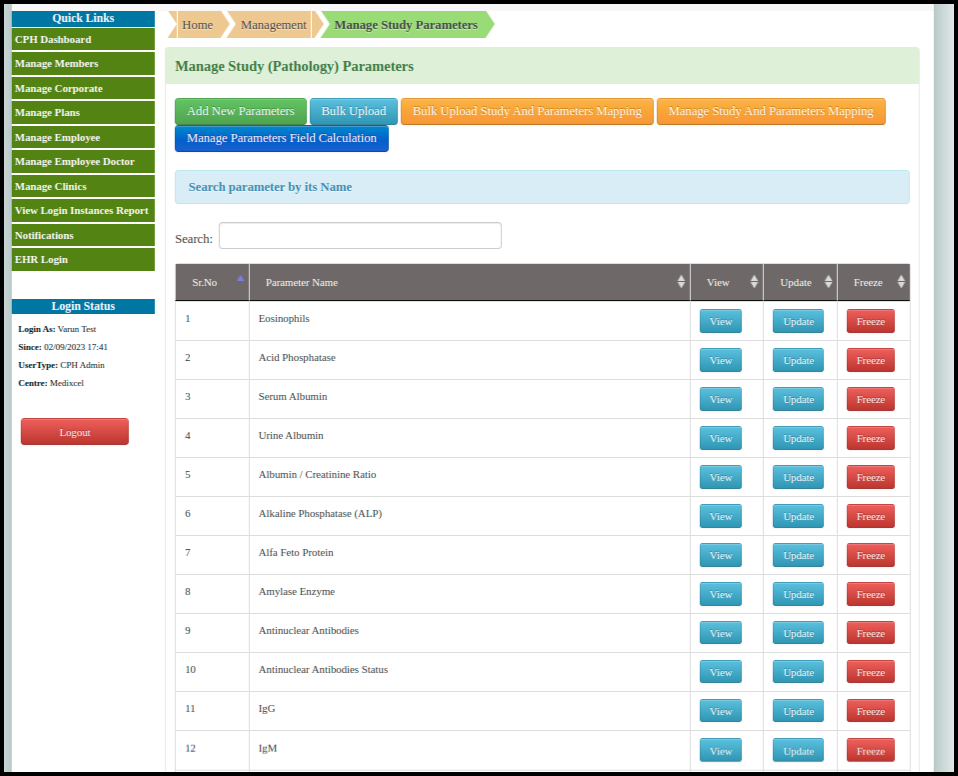
4. Click on the ‘Add Parameter’ to add new parameter, the added parameter will be displayed on the List.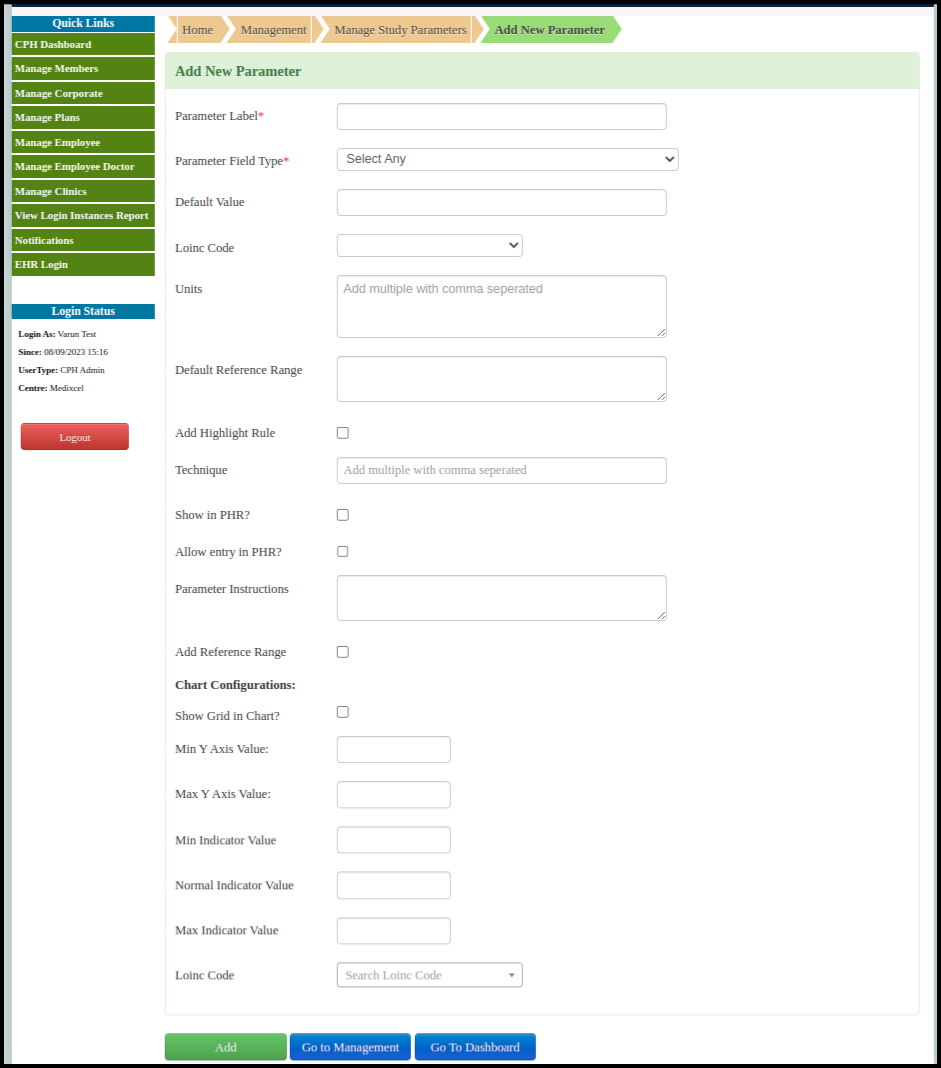
Add Parameters Screen: Labels specifications:
a. Parameter Field Type: it includes the types of fileds to select(Text, text area, select box).
b. Defult range: Here we can set a defult range which will displyed on the EHR side.
c. Highlight rule: Here we can add highlight rule to displayed the value in bold in EHR side.
d. Show/Allow in PHR: Here we can allow edit and view the Parameter entries into the PHR side.
e. Referance Range: Here we can add the referance range and add the highlight rule to be displayed into the EHR side.
d. Chart Cofiguration: Here we can set the vlaue for the X axis and Y axis to be displayed in the chart.
5. Click on teh Bulk upload option to upload/download the study parameters list in bulk.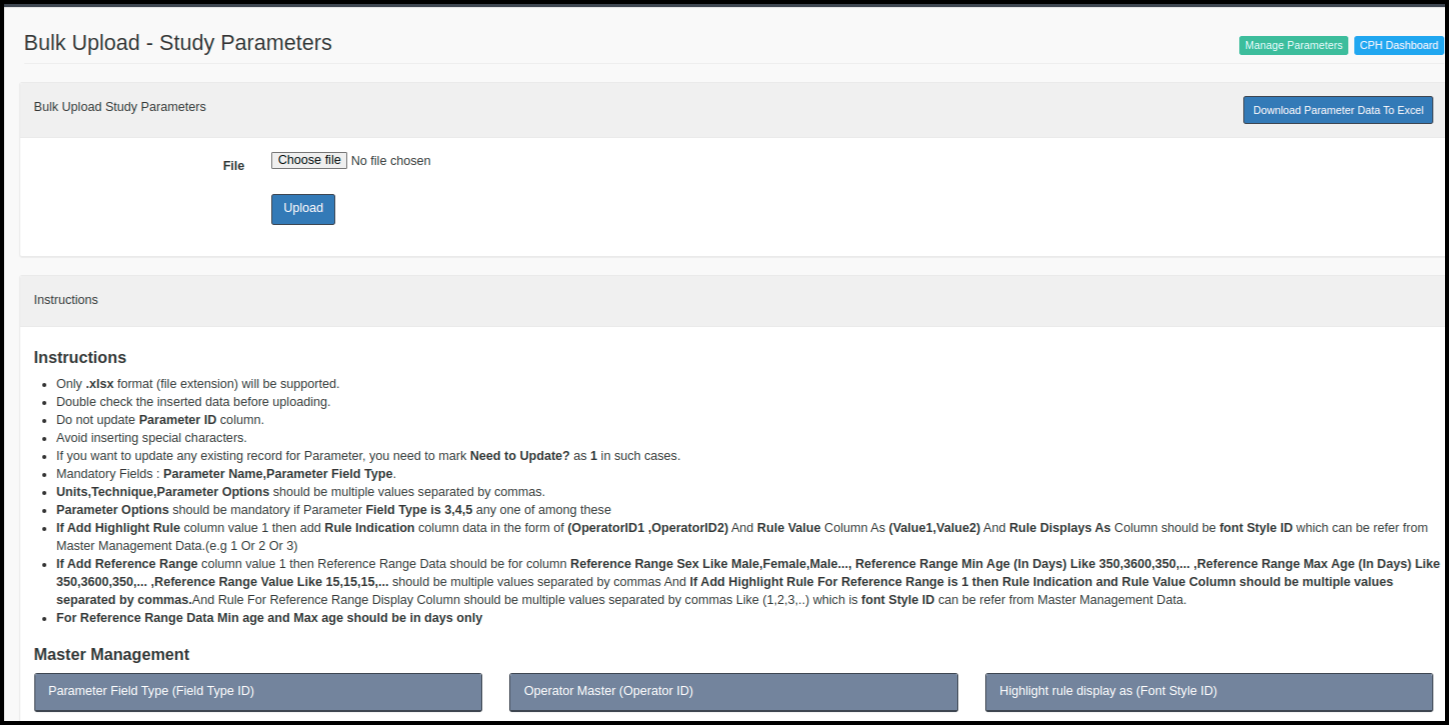
6. Click on the ‘the ‘Manage Study and Parameter Mapping’ to map the parameters with the studies.
Click on the Manage option to map the parameters.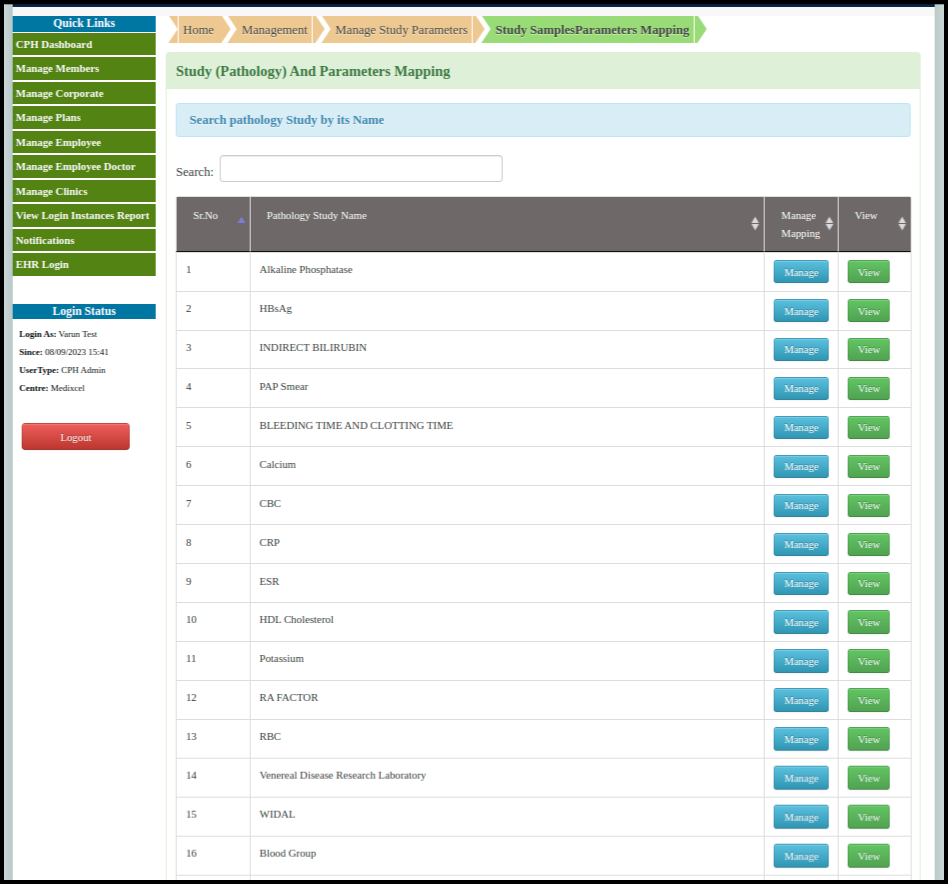
7. Click on the ‘Bulk upload for Study and Parameter Mapping’ to map the parameters with the studies in bulk.