This article will guide you on how to check the Discount Report
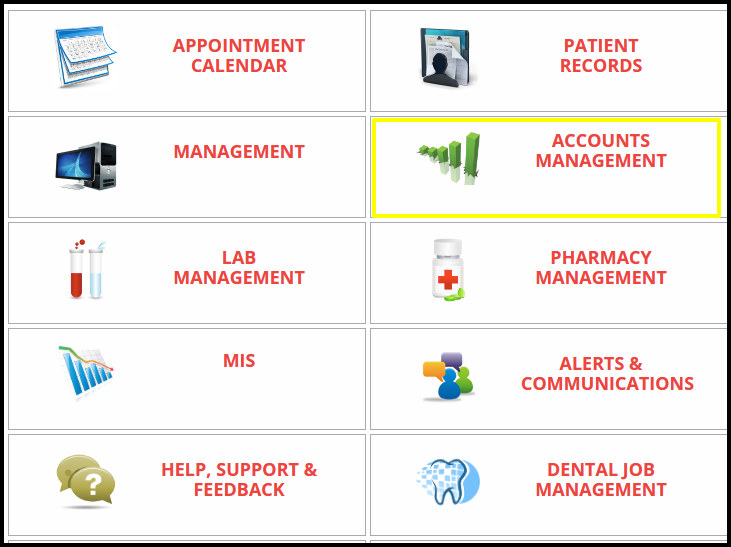
1. Click on the Accounts Management on the control panel

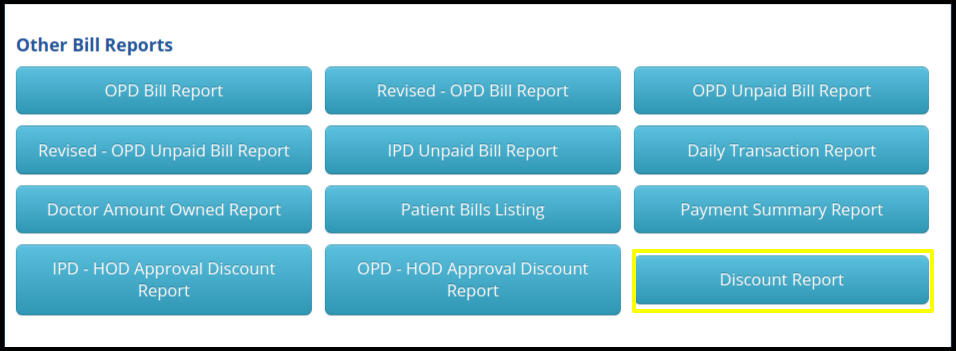
2. Click on the Discount Report button on the account management.

3. Once you click on the Discount report, the following filters will be available for searching the discount report

- Bill Date range- Here users can set the range according to the required date
- Clinic- Here users can set the clinic name if multiple clinic available in the
- Modality- Here users can select the modality to search the approval discount
- Given By- Here users can select the name of the doctor who actually assigned the discount
- Ward/Room Type- Here users can select the ward or room type
- Ward/Room Name-Here users can select the name of the ward or rooms
- Bill Types-Here users can check the bills by searching a different types of bill category
- Patient- Here users can select the patient name
- Then Click on the search option to search the data
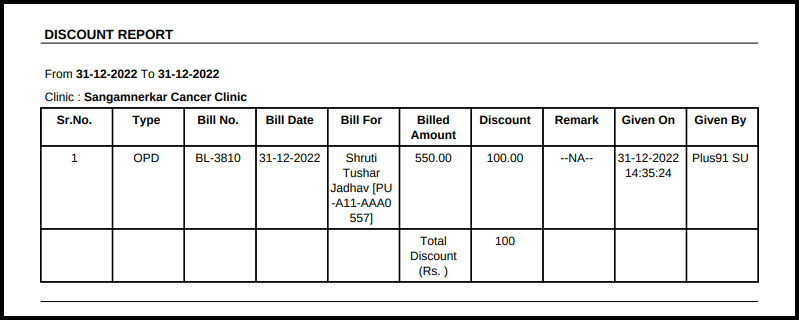
4. Once the users click on the search option, the Discount Report Listing screen will be display, In which includes the following points such as

- Serial Number- Here the count of approval will be reflected
- Type- Here users can select the bill type
- Bill Number- Here users can check the discount approval, according to the bill number
- Bill Date-Here users can check the date and time of the discount approval
- Bill for- Here users will get the name of the person who actually gives a discount approval
- Billed amount- Here users can check the total amount of the bill
- Discount- Here users can check the discount amount which has approved from the doctor
- Given on- Here users can check the date and time of the discount approval which has given by the particular doctor
- Given by- Here users can check the name of the doctor who has approved the discount on OPD bill
5. Click on the Export to excel option to download the data in the excel sheet


6. Click on the Export to PDf option to download the data in the PDF format
