
This article will guide you to add MLC patient in the appointment calender. To view, adding an appointment for a new patient click here
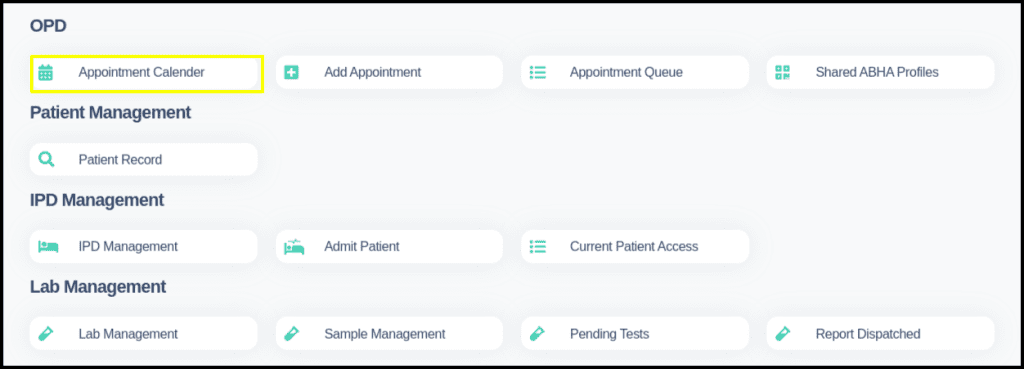
1. Click on the “Appointment Calendar” module on the Control Panel. and click on add appoitment.
2. When we click on add an appointment to MLC case we have to check the MLC option then the MLC information page will open.
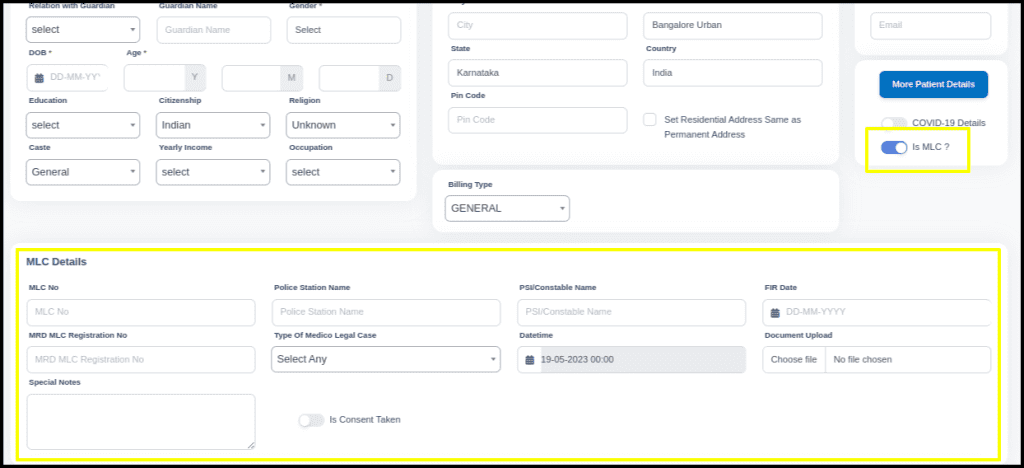
- First we need to add patient details.
- We have to check the MLC option on the screen if the patient is in an MLC case.
- A separate window will open once we select the MLC option. In that window, we must enter the relevant information.
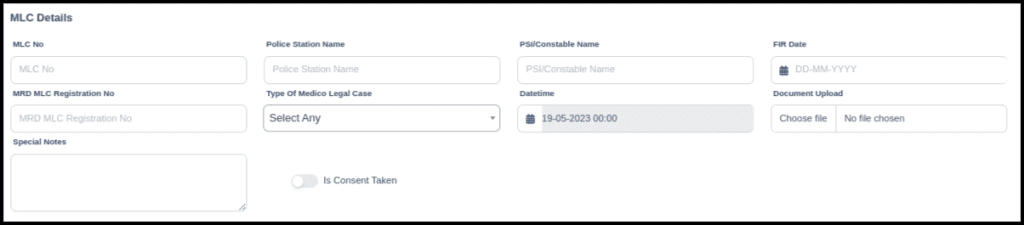
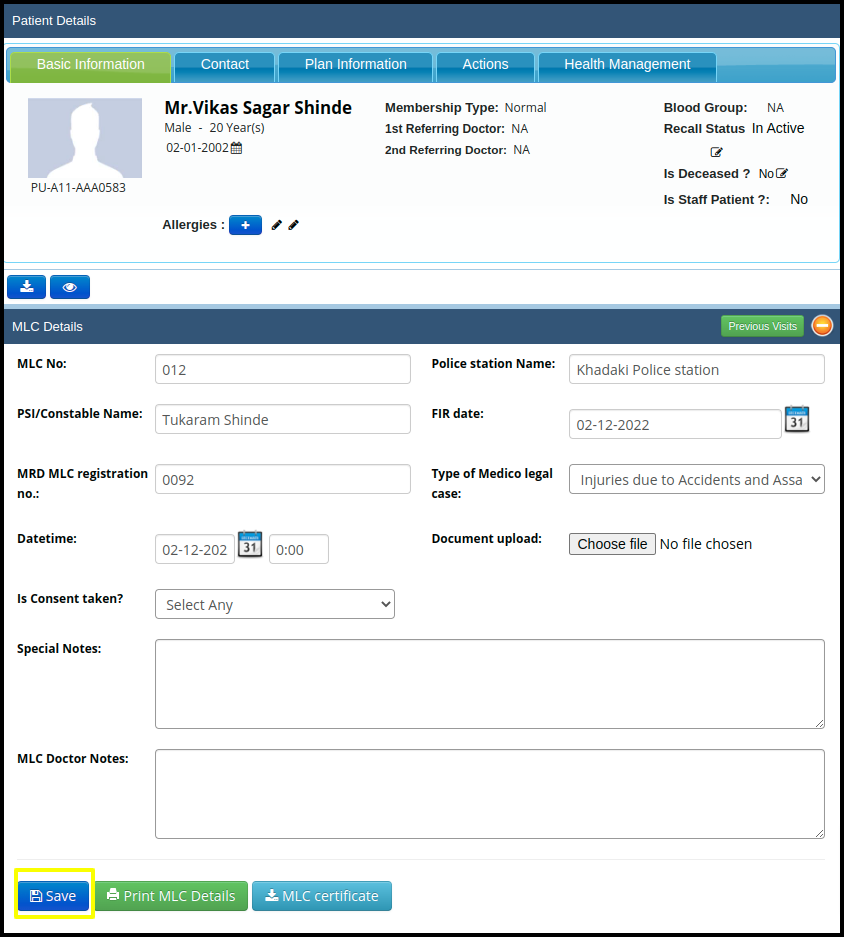
In the MLC Details includes the following point such as
- MLC NO. :- Here MLC number is required to identify the medical case while treating the patient.
- Police Station Name:- Police station name will be required to identify the case on which police station.
- PSI/Constable Name:-The name of the constable in charge of this case should be required so that hospital. staff can contact him or her if anything happens to the patient.
- MRD MLC Registration No.:-
- FIR Date:- FIR Date should be required while admitting the patient.
- Date and time:- Date and time should be required while admitting the MLC patient.
- Type of Medico-Legal Case:- here users can select the types of medico-legal cases according to the patient’s situation for example.
Injuries due to accident - Special Note:- In the Special Note users can put the important message in the writing box.
- Document Upload:- Here users can upload the patient legal document.
- Is Concern Taken:- if the concern is taken yes then in the upload consent option users can choose the consent form.
- Upload consent:- Here users can upload the consent form for future databases.
3. Select consultation details and click on save after entering all details.
4. MLC patient data will display in the MLC appointment flag.

5. Doctor can also check MLC details in the MLC details helper.
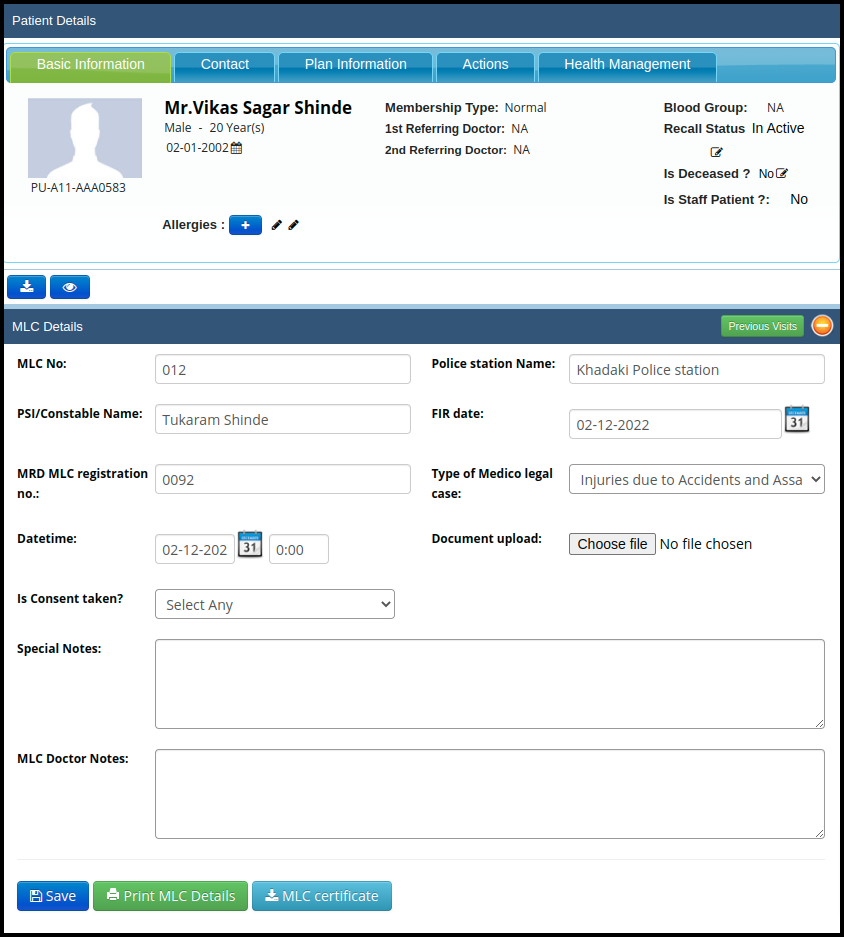
6. Once you click on the service the doctor consultation page will open where users get the MLC Details helper
- Here users can check the data which was fill up while taking a the appointment but only the Date and time and FIR date should be reflected automatically according to the registration date
- Here users can upload the Case related document in the Document upload option
- In the MLC Doctor Notes users or doctors can put important notes for future treatment
- Once you fill up all the data, click on the save option
7. Once you save the MLC details then MLC screen will be available for print the MLC report as well as MLC certificate
A. MLC Report
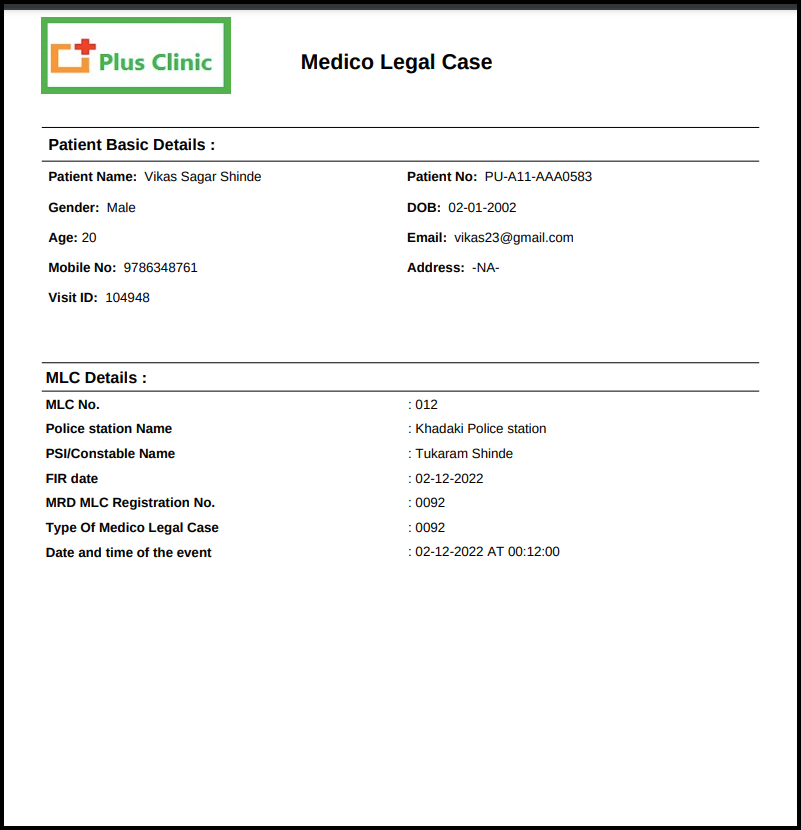
In the MLC report include the following point such as
- Patient Basic Details :-
a. Patient Name
b. Patient Number
c. Gender
d. Date of birth
e. Age
f. Email
g. Mobile no.
h. Address
i.Visit ID - MLC Details :-
a. MLC NO. :- Here MLC number is required to identify the medical case while treating the patient
b. Police Station Name :- Police station name will be required to identify the case on which police station
c. PSI/Constable Name :-The name of the constable in charge of this case should be required so that hospital staff can contact him or her if anything happens to the patient.
d. MRD MLC Registration No.:-
e. FIR Date :- FIR Date should be required while admit the patient
f. Date and time :- Date and time should be required while admit the MLC patient
g. Type of Medico-Legal Case :- here users can select the types of medico-legal case according to the patient’s situation for example Injuries due to an accident.
B. MLC Certificate :-

Here is the format of the MLC certificate where users need to fill up the data such as
- Patient Name :- The patient name should be required in the MLC certificate for identify the specific patient certificate.
- Date of the MLC case:- Date should be required in the MLC case.
- Service name:- Service name should be required to identify the treatment on specific service.
- Time of arrival:- Time should be required to specify the arrival time.
- Diagnosis:- Diagnosis should be mandatory while create the certificate.
- Doctors signature:- Doctors signature should be required for finalised the certificate.
- .Degree & Registration Number should be required to finalised the certificate.
11. Once the bill has been generated, you can download as well as print the report in pdf format.
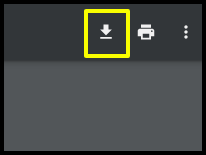
A. Download the bill by clicking on the download option which is reflected in the left-hand side of the screen .

B. Print the report by clicking on the print option which is reflected in the left-hand side of the screen.