This article will guide on ABDM workflow
A. Milestone 1
a. Create & link the ABHA ID
1. Select the patient registration page from the OPD section.

2. Here you can link the ABHA ID for exsisting as well as new patient appointment.
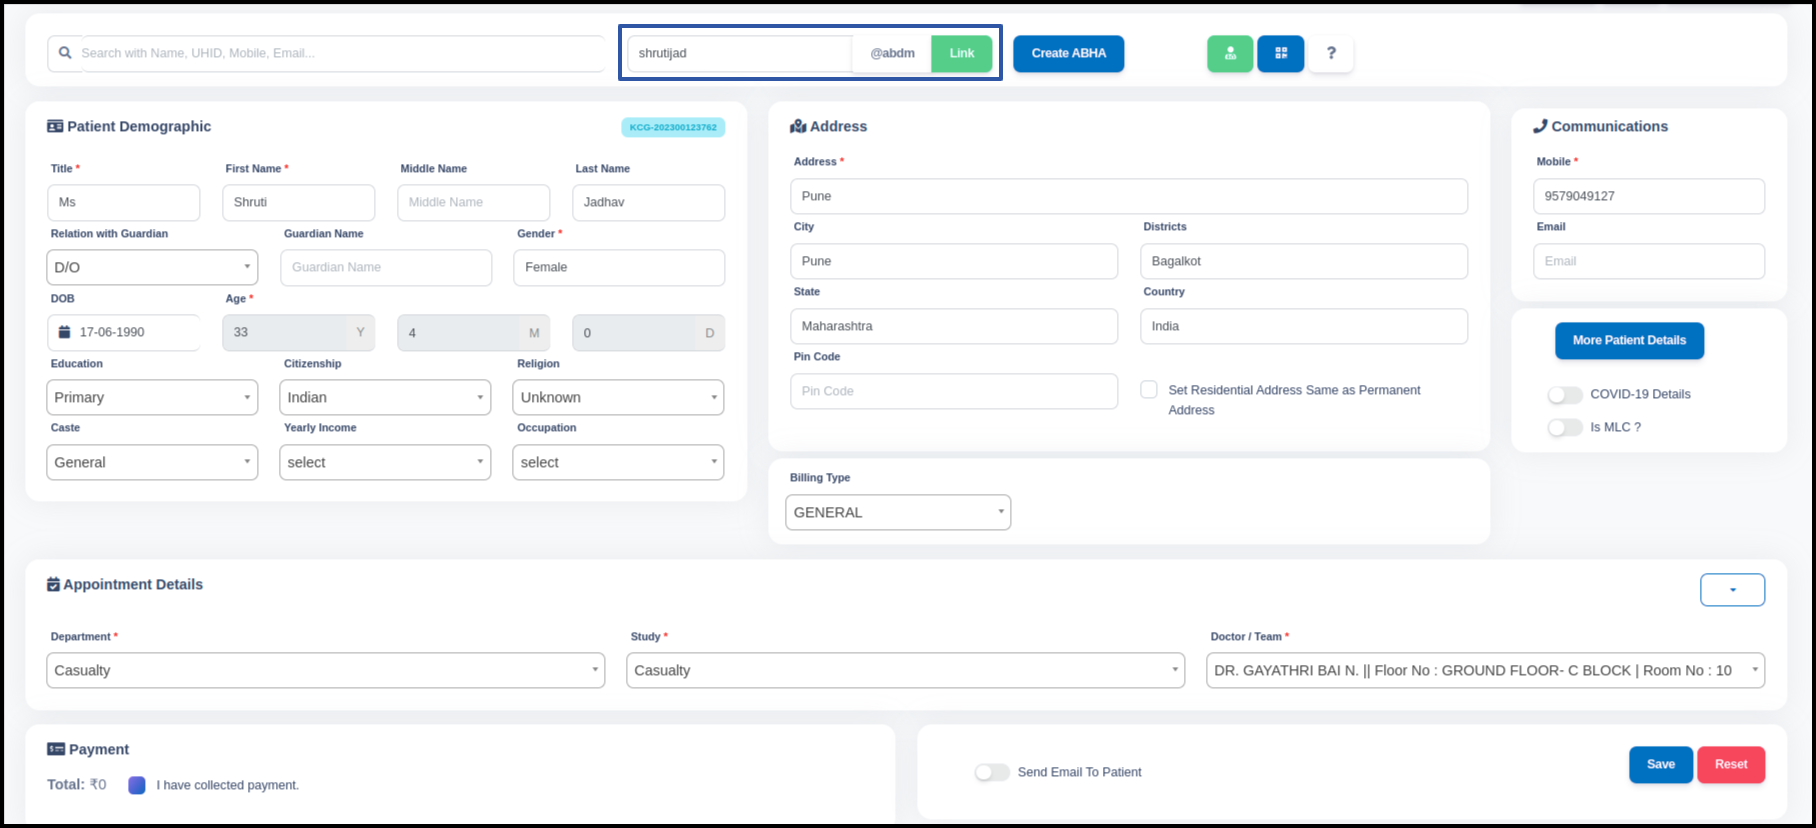
3. Here you can create the ABHA ID for making a patient appointment
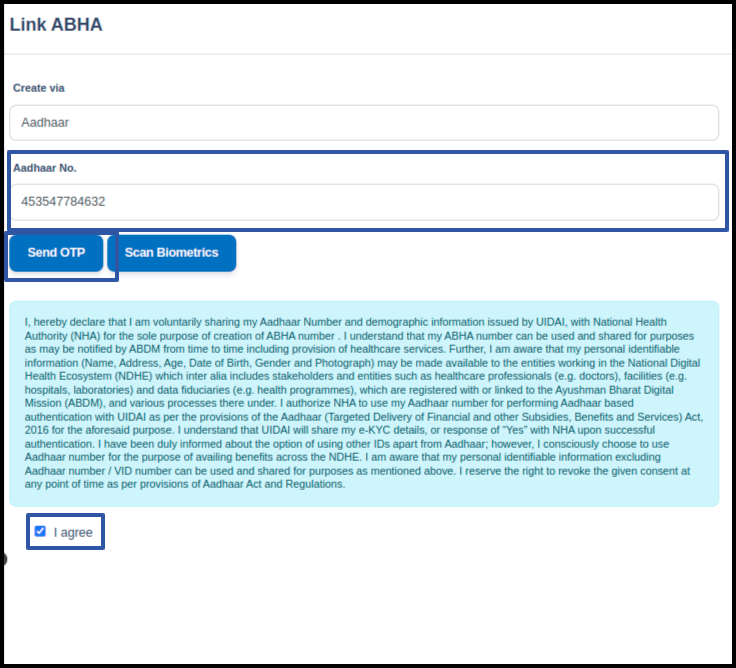
- Put the Aadhar number
- Send the OTP or scan the biometrics for verified the Aadhar number
- Accept all the terms and condition
b. Scan and share the ABDM profile.
1. Select the scan & share module from the OPD section.

2. In the scan & share module generally we use the tokan number for maintaining the patient’s queue for prompt appointment booking. here you can generally check the possible match to take exisiting patient appointment. then you can take IPD or OPD appointments of the patient through action button

B. Milestone 2 Pull the patient records from the ABHA application.
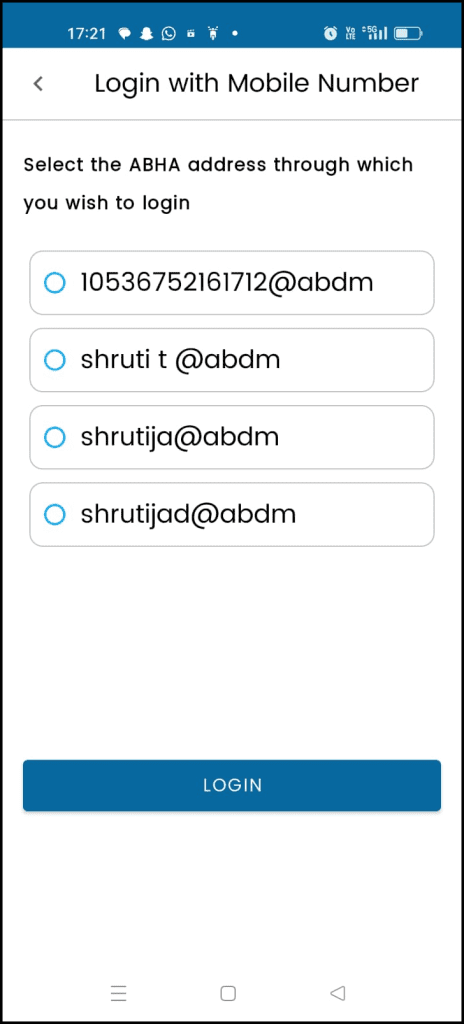
1. Login the ABHA application.
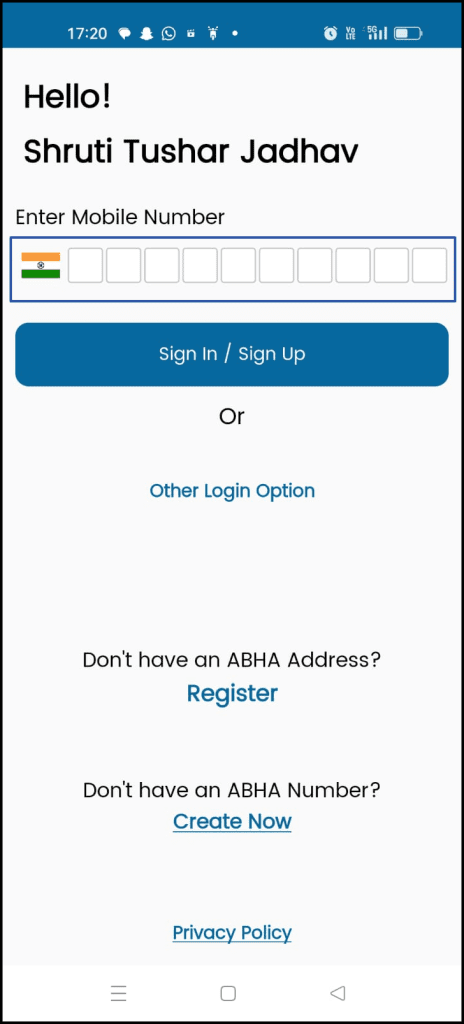
2. Select the ABHA ID
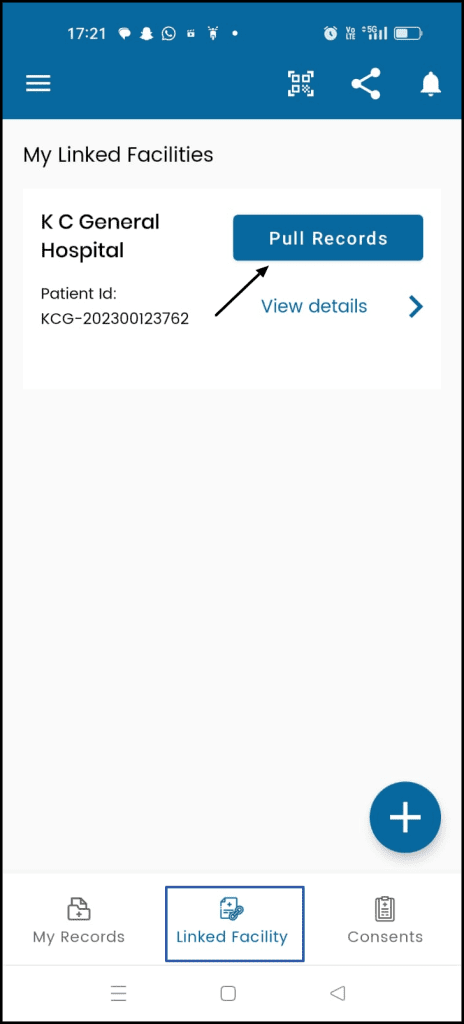
2. Pull the record from Link facility option
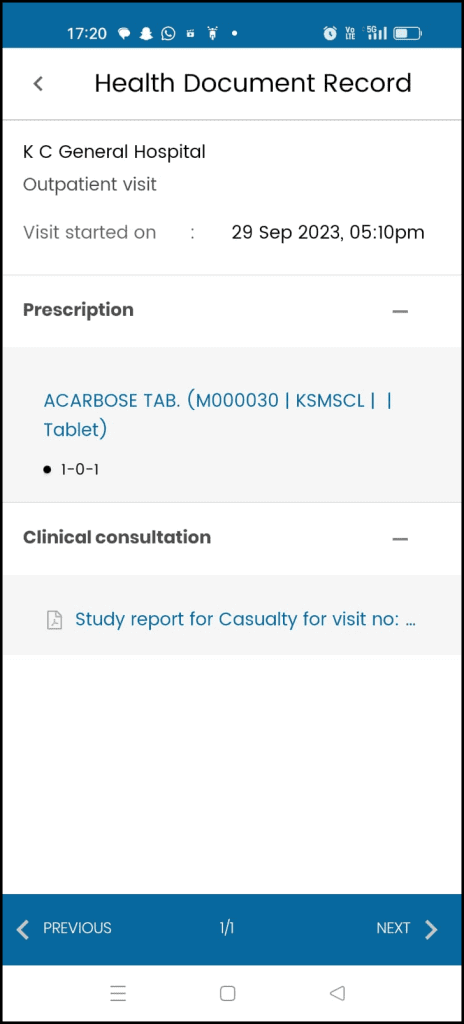
3. Check the Patient medical Records in the application.
C. Milestone 3
a. Add the consent
1. Login the EHR with doctors credential and Select the service from the appointment slot.

2. From the Consultation page doctors can rasied the consent by click to “Add consent” button
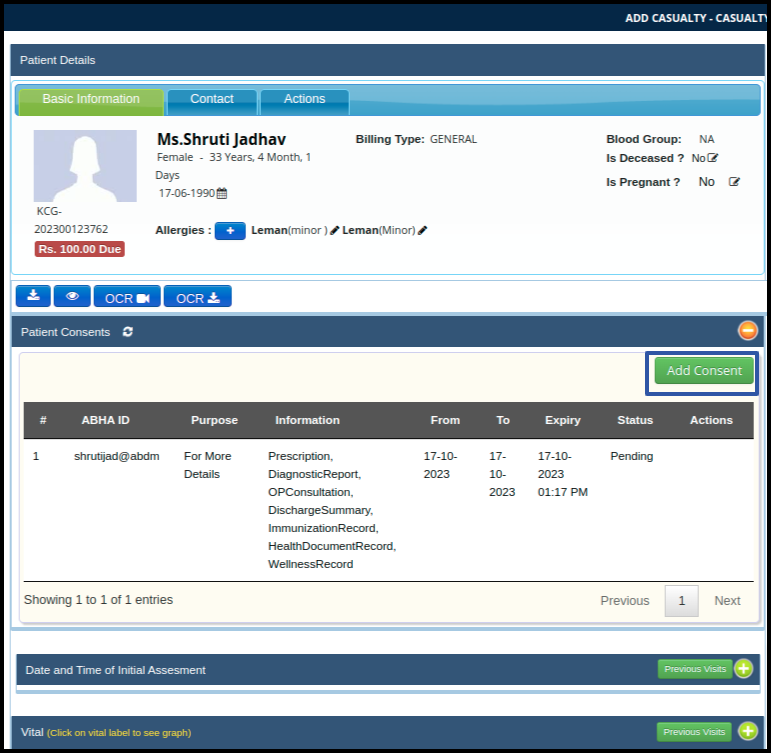
3. Choose the ID from the list and click to proceed button.
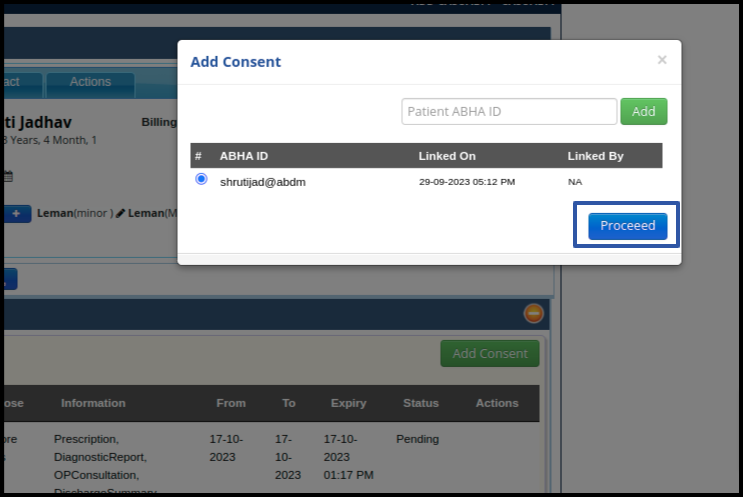
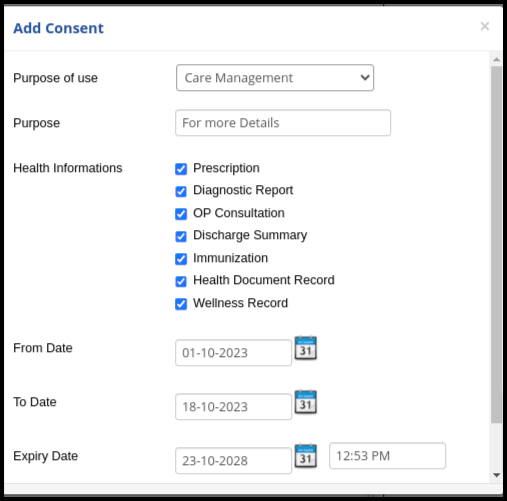
4. Here fill up the consent request form and click to submit button for raise the consent.
5. Check the consent request from the ABHA application
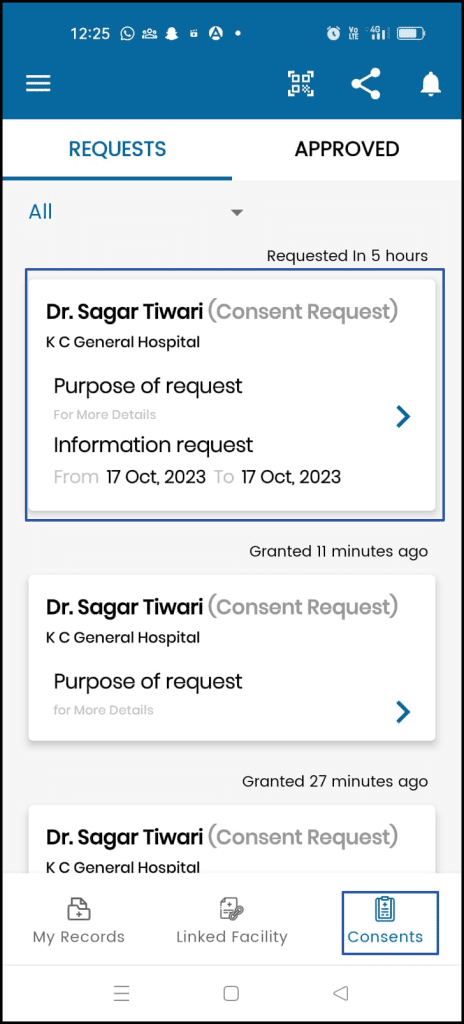
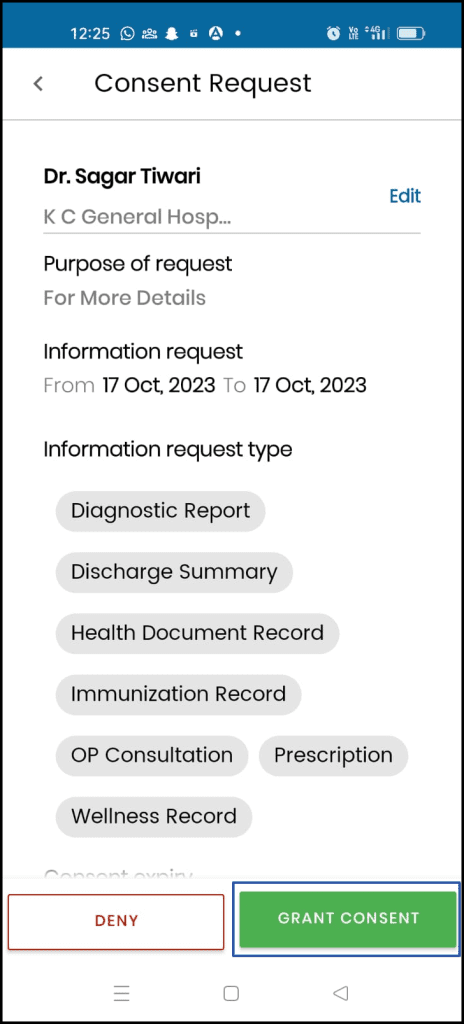
6. Click to Consent request and accept the consent by clicking “grant” option
