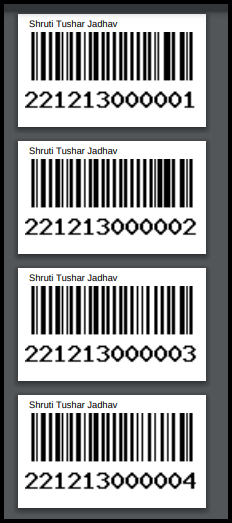
This article will guide you to generate and print the barcode while collecting the sample from the lab management. To view the collection sample articles, click here
1. Click on the lab management module on the control panel.
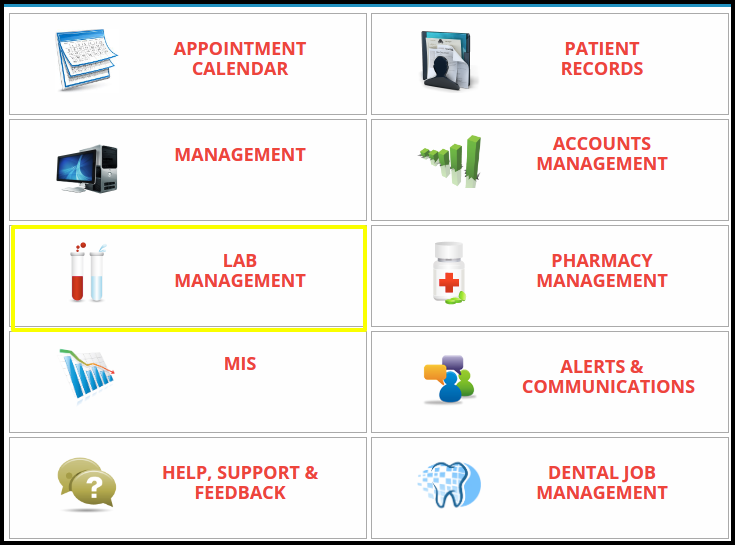
2. Once you click on the lab management module the lab management page will be open.
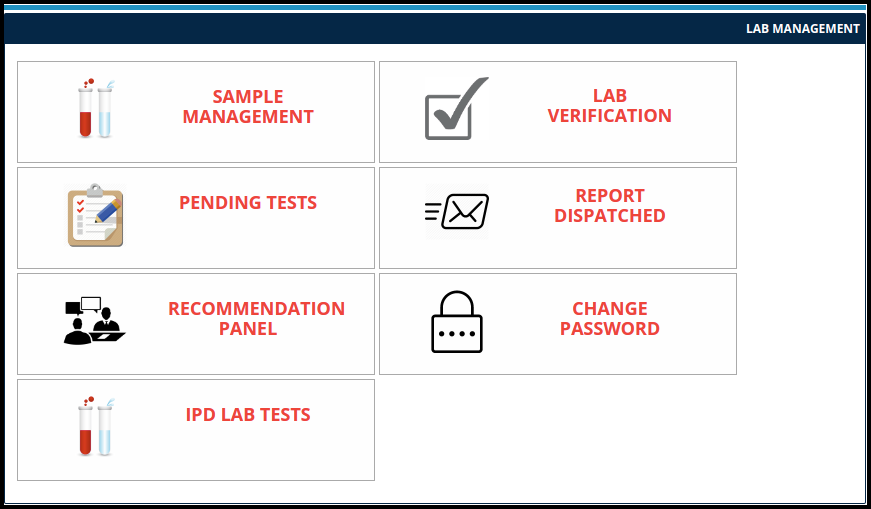
3. To generate and print the barcode click on the sample management
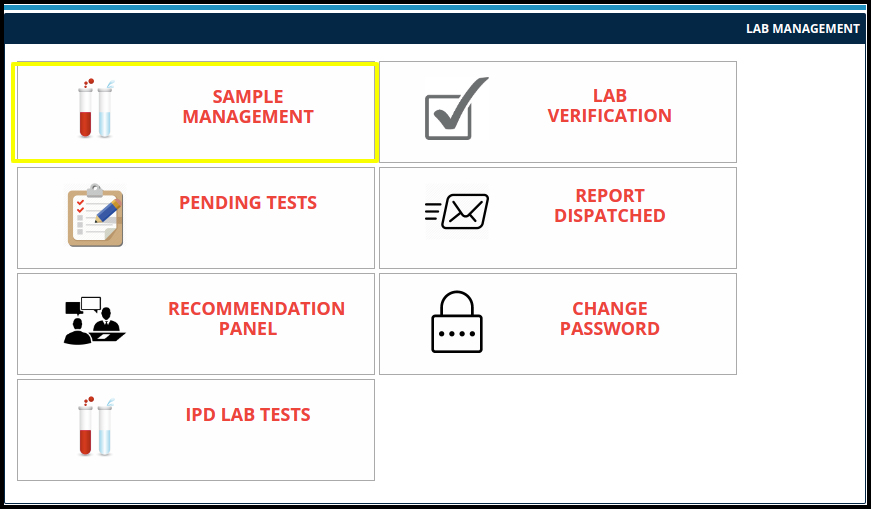
4. Once you click on the sample management the request sample page will be open
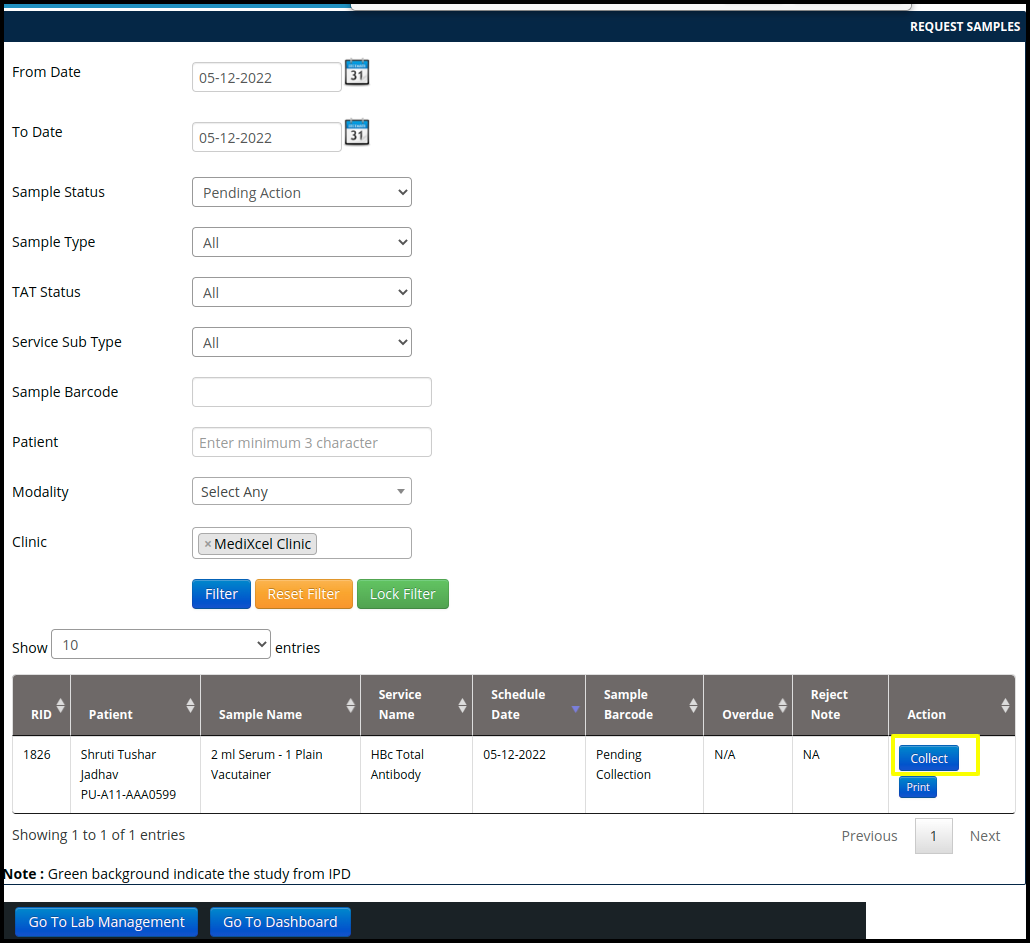
5. To generate the barcode click on the “collect”button

6. Once the click on the collect option the medixcel sample collection screen will be open
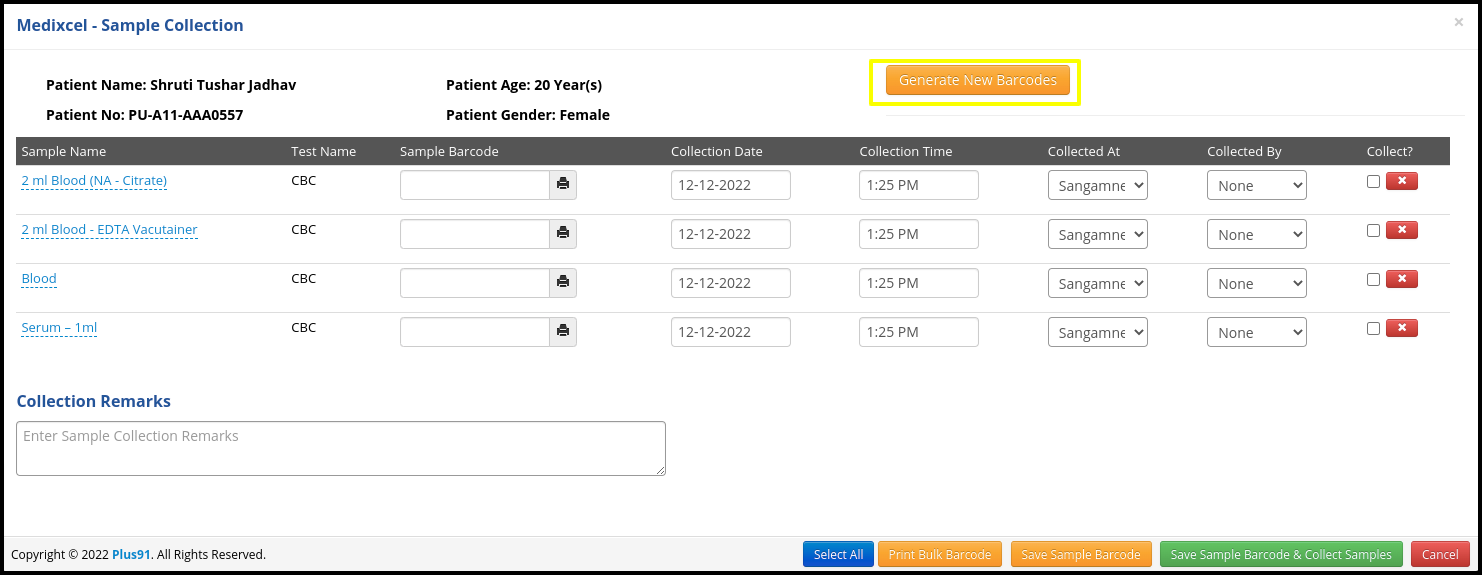
To generate and print barcode click on the two option simultaneously, which is given below
A. Generate New Barcode.
B. Print Bulk Barcode.
A. Generate New Barcode
- To Generate the barcode click on the “Generate New Barcode” Button

- Once you click on the Generate New Barcode Button, then the barcode will be reflected in the “sample barcode” option
- If multiple sample is available in the list, then generate new barcode button can generate the multiple barcode in the collection list
- For example
Here i am taking appointment of CBC test in the appointment calendar

- Now for the sample collection go to Sample management their users can get multiple sample in the list for collect the sample
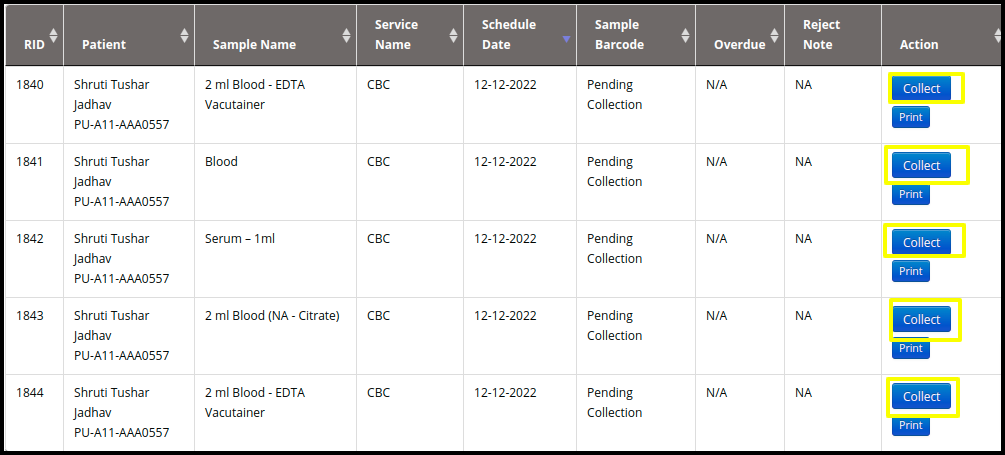
- Once you collect the samples, then it will be reflected in the Medixcel Sample collection screen.
 B. Print Bulk Barcode
- Here users can check the bulk barcode for identify the samples with specific client wise
- In barcode stickers includes the following data, such as
a. Patient Name :- Patient name should be required for identify the particular patient sample
b. Barcode Tag :- Barcode tag should be required to scan the particular tag
c. Barcode Number :- Barcode number is form in the 12 digit
d. Print Bulk Barcode :- Here users can print the bulk barcode for stick on the sample to identify the specific person sample
