This article will guide you on the use of Lab Workspace.
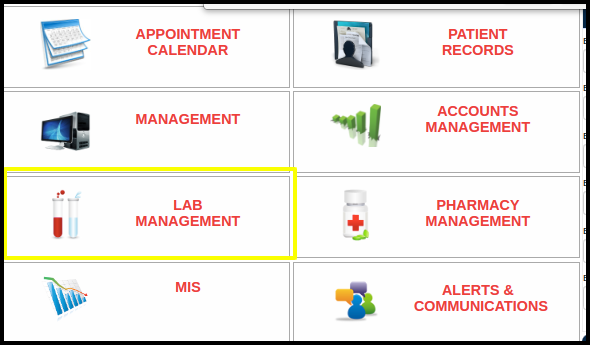
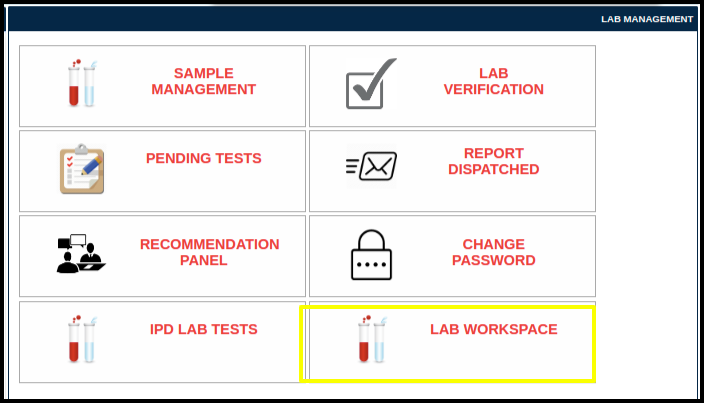
1. First we need to click on Lab Management and click on Lab Workspace.


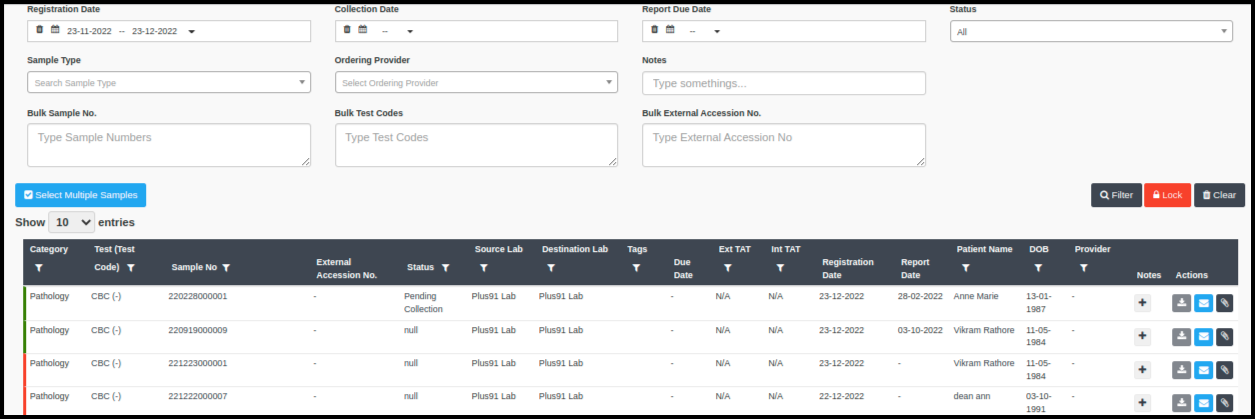
2. When we click on the lab workforce module following window will open.

The above image should include the following details:
- Registration Date- Filter by date range for scheduled pathology tests.
- Collection Date- Date filter for the blood sample collection.
- Report Due Date- Report due date filter.
- Status- Apply a pathology test status filter, such as new, sample collection, and accession.
- Sample Type- We can use several sample type filters.
- Ordering Provider- Different ordering provider filter.
- Bulk Sample No.- Enter multiple samples no.
- Bulk Test Codes- Multiple test codes we can enter here.
- Bulk External Accession No.- We can enter multiple external accession numbers.
3. When we apply any convenient filter and click on the search button the following window will open


The above image should include the following details:
- Category- Modality name.
- Test Code- Name of the test.
- Sample No- Barcode number.
- Status- Sample collection status like collected, pending.
- Source Lab- Clinic name.
- Destination Lab- Clinic name where the test is performed.
- Registration Date- Date of pathology test registration.
- Report Date- Date of a test report issued.
- Patient Name- Name of the patient.
- DOB- Patient date of birth.
- Notes- We can add notes from here.
- Action- Three options can be found under the action tab: download report, send report, and view attachment.
- By clicking on the test name and sample no. We can also view the pathology test page.
- Basically, this article instructs you on how to use the lab workspace module.