• Home
  • Categories
    • Appointments and schedule
    • Lead management
    • OPD
    • IPD
    • ANC
    • Management
    • Accounts Management
  • Contact Us
  • Support
  • Home
  • Categories
    • Appointments and schedule
    • Lead management
    • OPD
    • IPD
    • ANC
    • Management
    • Accounts Management
  • Contact Us
  • Support
home/Knowledge Base/LIS/Print report/Print the sample Collection after saving an appointment

Print the sample Collection after saving an appointment

18 views 0

Written by plus91
December 21, 2022

This article will guide you to print the sample collection after saving an appointment To view the sample collection click here and accession click here

1. Once the pathology appointment has been created, then it is finalized  successfully in the appointment calendar

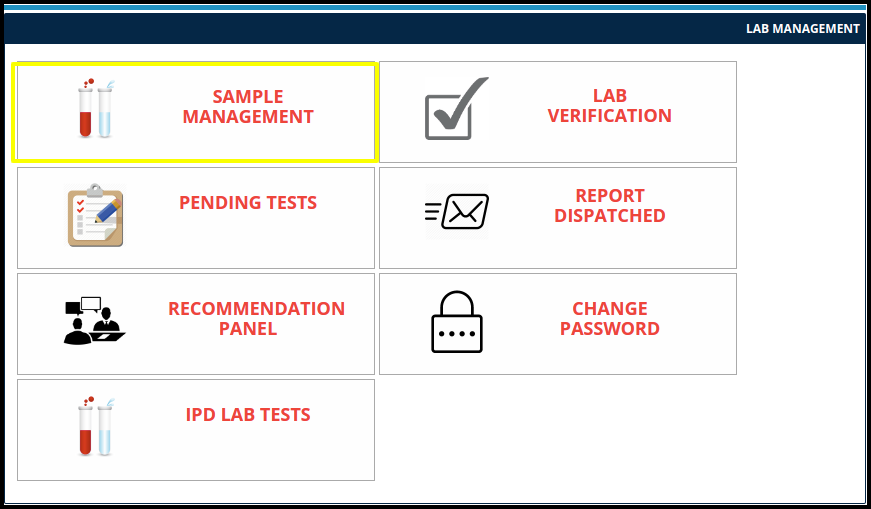
2. To print sample, click on the Lab management module 

3. Once you click on the lab management, lab management page will be open

4. To print the sample, click on the sample management

5. Once you click on the sample management the request sample page will appear

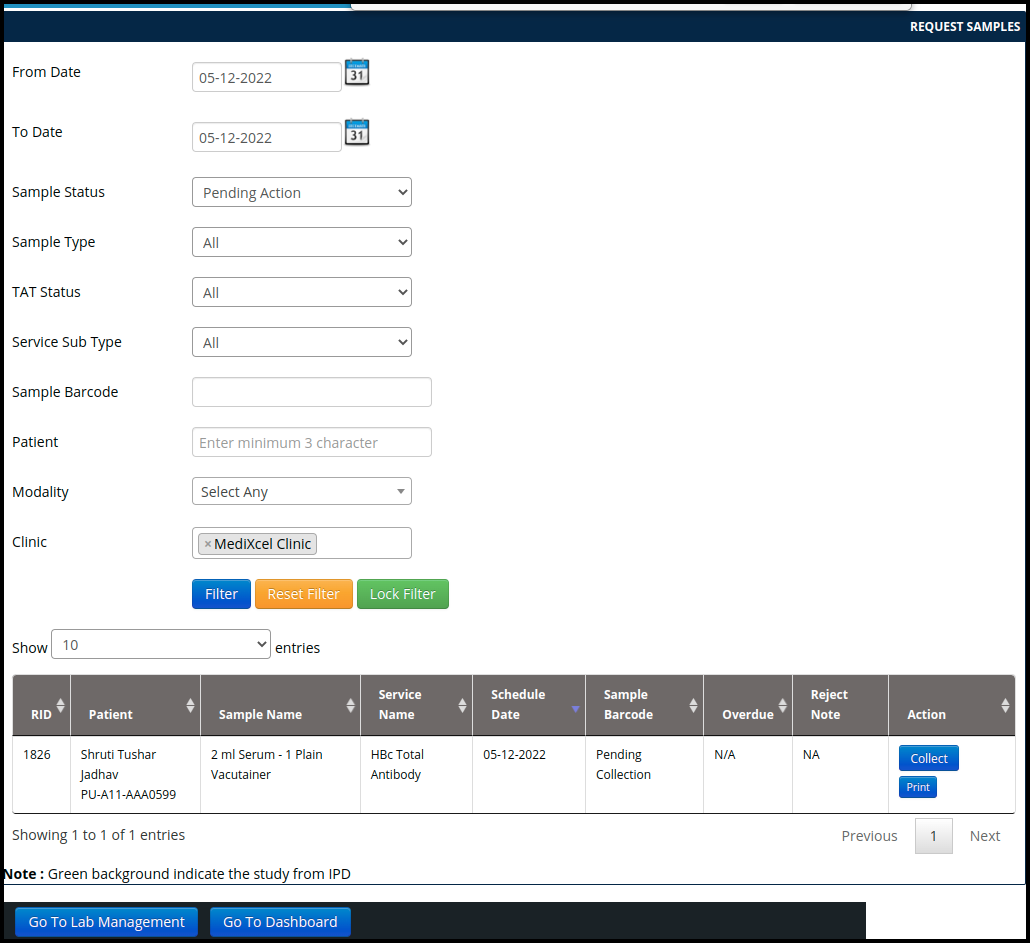
6. To print the data, click on the print button which is on the right hand side of the page below the collect option.

  • Here having a two types of print before collecting and after collecting  the sample 
  • Before collecting the sample 
  • Before collect the sample in the print report include the patient sample management details such as

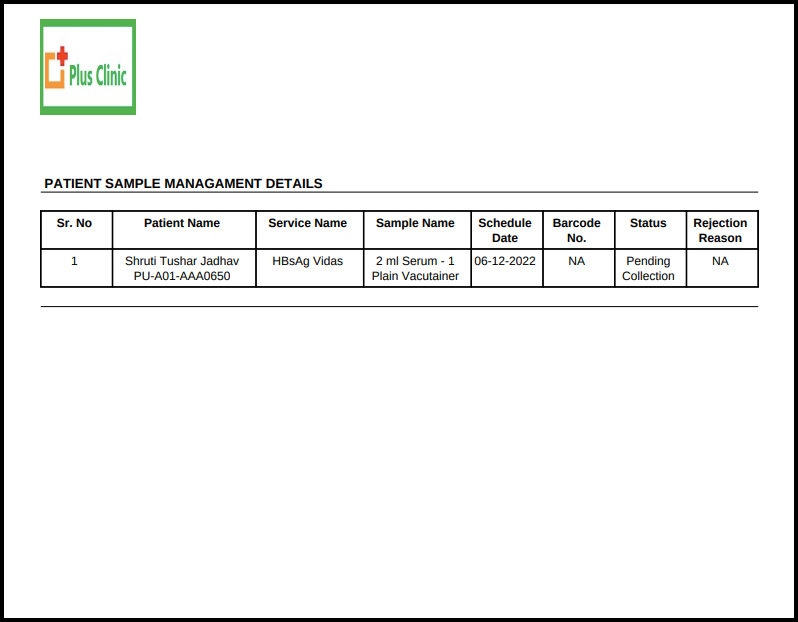
  • Serial Number :- Serial number should be required to count the sample 
  • Patient name:- Patient name should be required to identify the sample 
  • Service Name :- Service name should be required to identify the specific service of the sample 
  • Sample name :- sample name should be required to verify the exact sample of the particular service 
  • Schedule Date :- Schedule date should be required to verify the 
  • Barcode No :- If having then their number will be reflected in the table 
  • Status :- If the status is pending then this will be reflected in the sheet 
  • Rejection Reason :- If the particular sample is rejected then their reason should be reflected here 

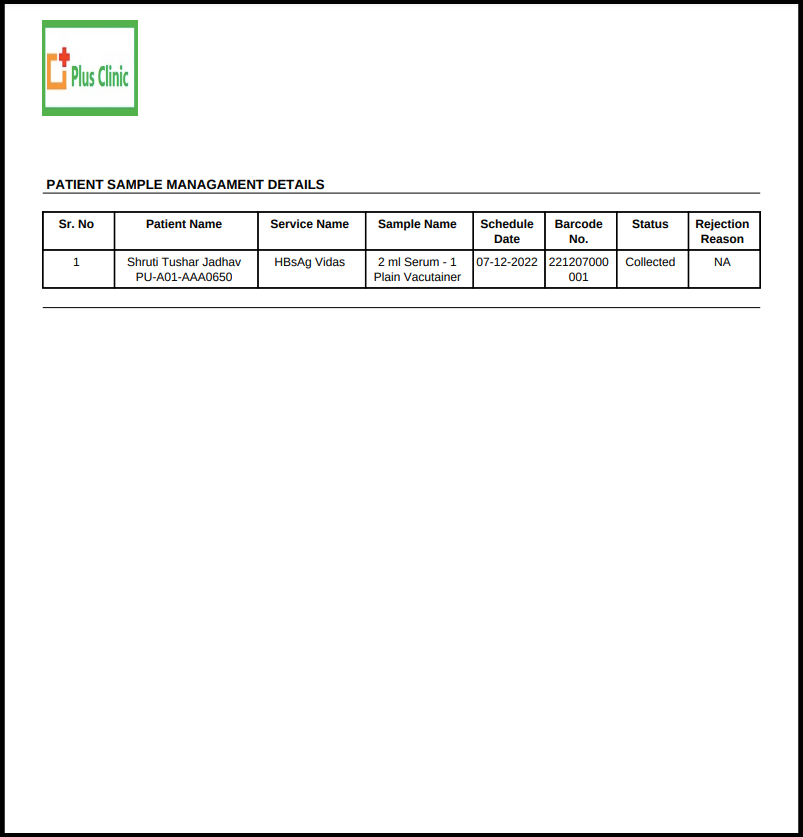
  • After collecting the sample in the print report includes the similar details which was reflected in the last image 
  • But after collect the sample status will be changed from pending status to collect 
  • In the barcode also reflect the proper barcode number to identify the specific patient sample report. 


Tags:Lab processLISprint sample collectionprint samplesample collectprint collection sampleprint

Was this helpful?

Yes  No
Related Articles
  • Add Lab Investigation
  • Lab Process with New Screen
  • Lab Verification Report
  • TAT Report
  • Lab WorkSpace
  • Print the dispatched report from the Lab
Leave A Comment Cancel reply

Popular Articles
  • Create A Purchase Store
  • OPD Other Study Bill Report
  • Manage Helper Fields
  • Manage Password
  • Export All Leads
KB Category
  • Quick Links
  • Master Management
  • Inventory Management
  • Admit process
  • Scan & Share
  • Milestone 3
  • Milestone 2
  • Waste Management
  • Day Observation / Detention
  • Biomedical Waste Management
  • Dashboard
  • Accident & Emergency Ward Management
  • Milestone 1
  • ABDM
  • Blood Transfusion Request
  • Transfusion Medicine Unit
  • Operation Theatre Calendar
  • Listing
  • Appointment view
  • Listing
  • Pediatric
  • Appointment View
  • Mortuary Management
  • Management
  • Linen & Laundry
  • Request Blood Product
  • Blood Lab Service
  • Lab Service
  • Taxation Management
  • IPD From CPH
  • Recommendation Panel
  • Mortuary Reports
  • Mortuary plan
  • Oncology
  • NABH KPI Dashboard
  • NABH Dashboard
  • Dashboard
  • CPH
  • Surgery Recommendation
  • Inventory Dashboard
  • Calendar View
  • Dialysis Management
  • A & E Ward
  • OPD Reports Management
  • IPD Reports
  • OPD Reports
  • Others Bill Report
  • Accounts management
  • Management
  • ANC
  • Reports Management
  • Lead Status
  • Lead Management
  • Help and Support Management
  • Blood Bank Report
  • Appointment View
  • Dental Managment
  • Patient Record
  • Reports Managment
  • Schedule Status
  • Filters
  • Calender view
  • LIS
  • IPD
  • OPD
  • Pharmacy
  • IPD Patient Records
  • IPD Registered
  • IPD Bill reports
  • Station
  • Medicine PO
  • MIS Report
  • MIS
  • Medicine Report
  • Medicine Dispense
  • IPD Admission Process
  • Appointments and Scheduling
  • values and parameters
  • Consultation account
  • Master management
  • Ward status
  • Schedule Manager
  • Print report
  • Lab Process
  • Lab MIS Report
  • Pharmacy Reports

  Pending Test

Process of Lab management  

plus91_logo
MediXcel is a flexible software solution for clinics, out-patient departments inside hospitals and clinic chains. It manages Medical Data of the patients and Administrative data of the practice. Its design lets user store data with ease, quickly retrieve data and use this data in various combinations and formats to make better decisions on patient treatment, customer service and practice profitability.
Company
  • Careers
  • Mission/Vision
Support
  • Knowledge Base
  • Video Manuals

[google-translator]

  • Policies
  • Certificates
  • © Plus91 Technologies All Rights Reserved