This article will show you how to assign a Triaging flag to a patient’s appointment based on their condition.

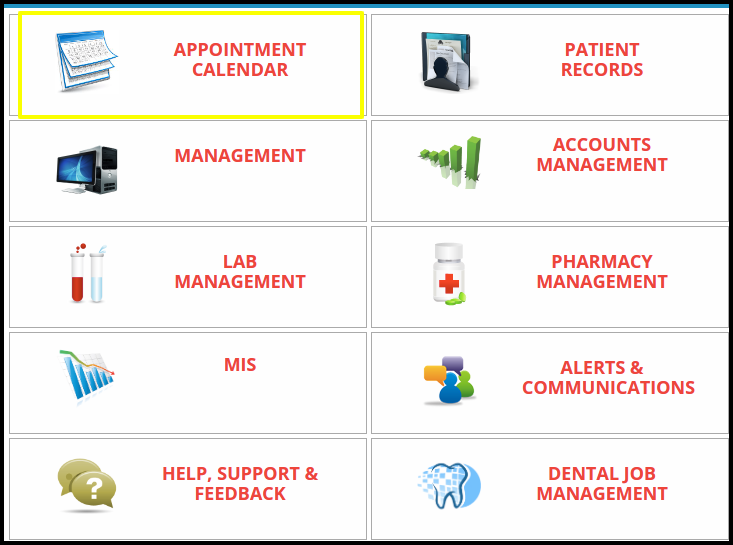
1. Click on the appointment calendar module.

2. Once you save the appointment it is successfully displayed in the appointment calendar.

3. To Check the traging flag status, click on the flag option.

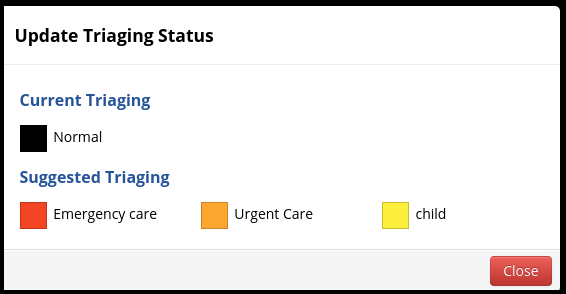
4. Here we can assign the triaging flag according to the situation of the patient such as
A. Current Triaging:- In the Current Triaging we can assign the flag according to the current situation of the patient
B. Suggested Triaging:- In the Suggested Triaging we can assign the flag according to the upcoming situation of the patient
5. In the triaging flag having colour code to define the situation of the patient such as
- Black Color Box:- Black colour box consider the normal patient condition
- Red colour Box :- Red colour box considers the Emergency case and needs to take extra care.
- Orange colour box:- Orange colour box consider an urgent case and need to take extra care
- Yellow Color box:- Yellow colour box consider the child case and need to take extra care
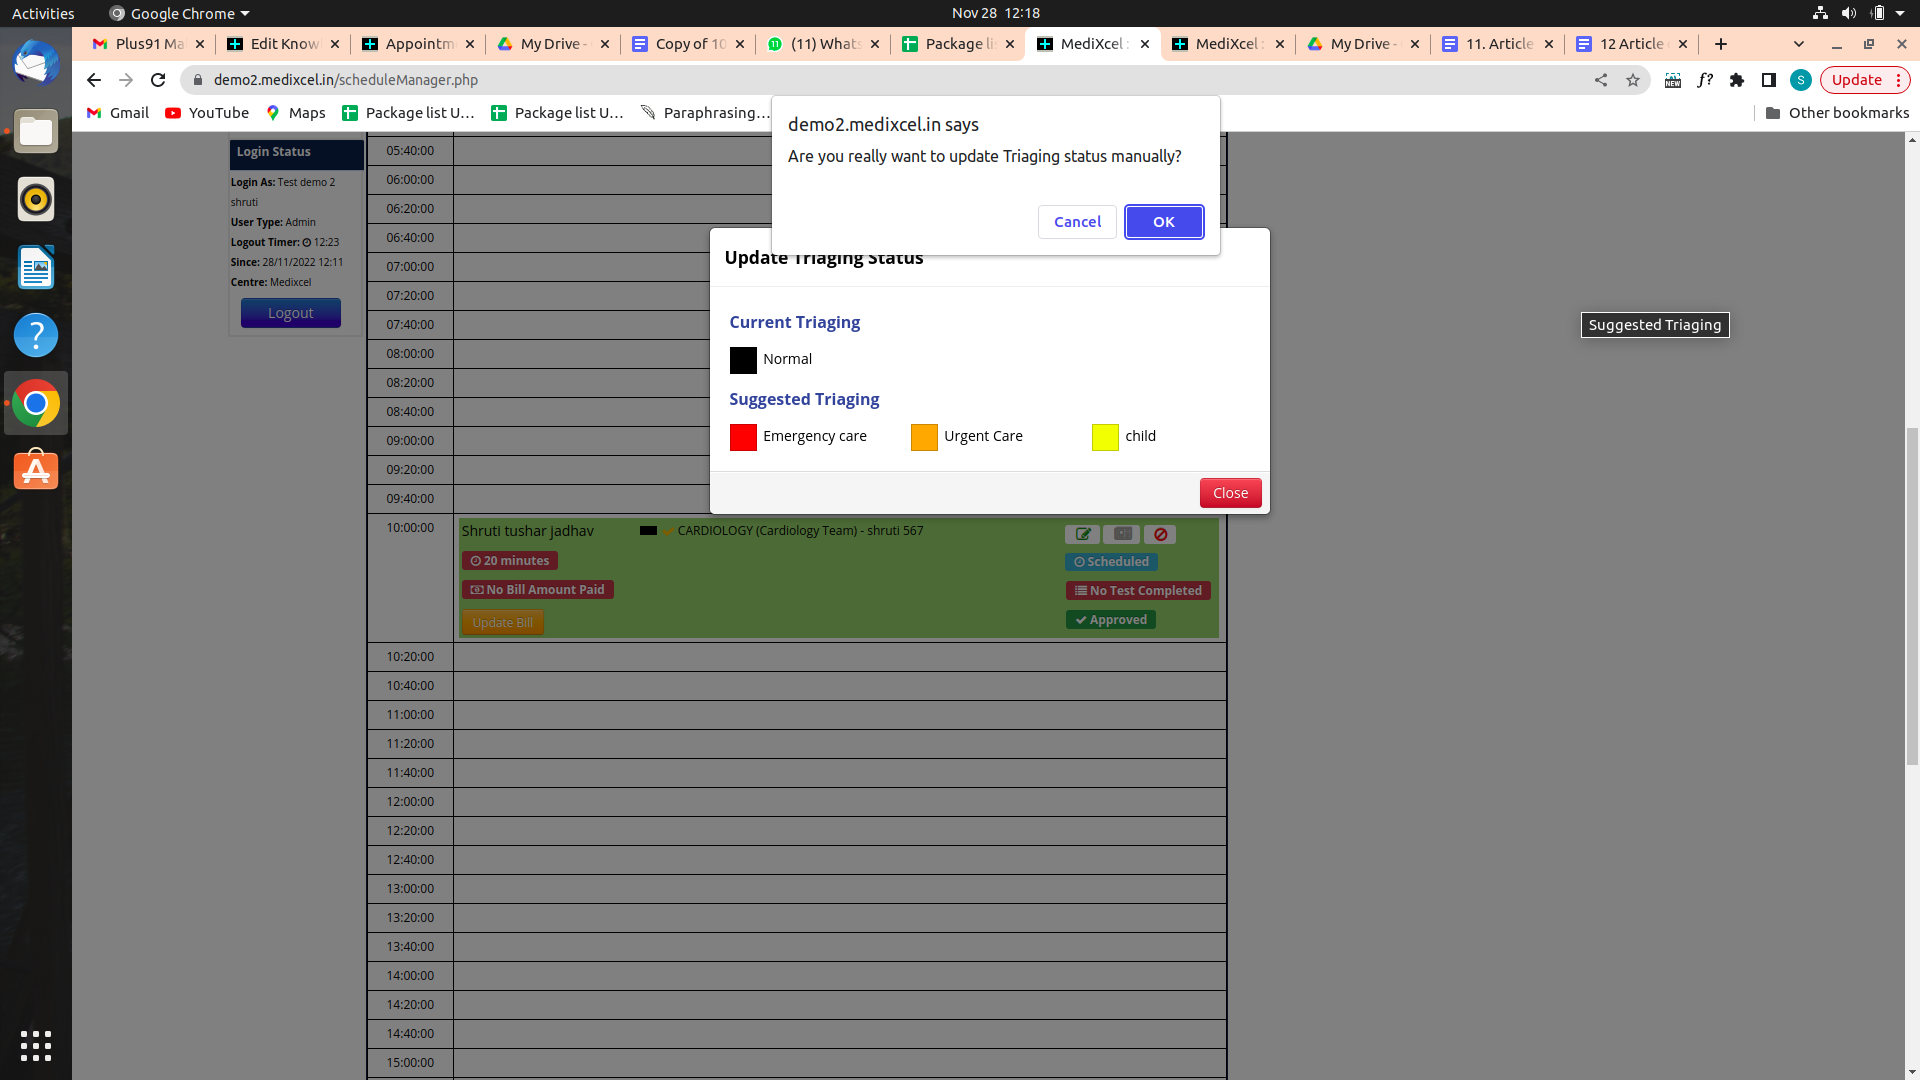
6. To update the triaging status, click on the particular triaging flag, and then the pop-up screen will be displayed to confirm the update.
A. Here having two options, cancel and OK
 B. To confirm the status, click on the OK or reject the status update click on the Cancel

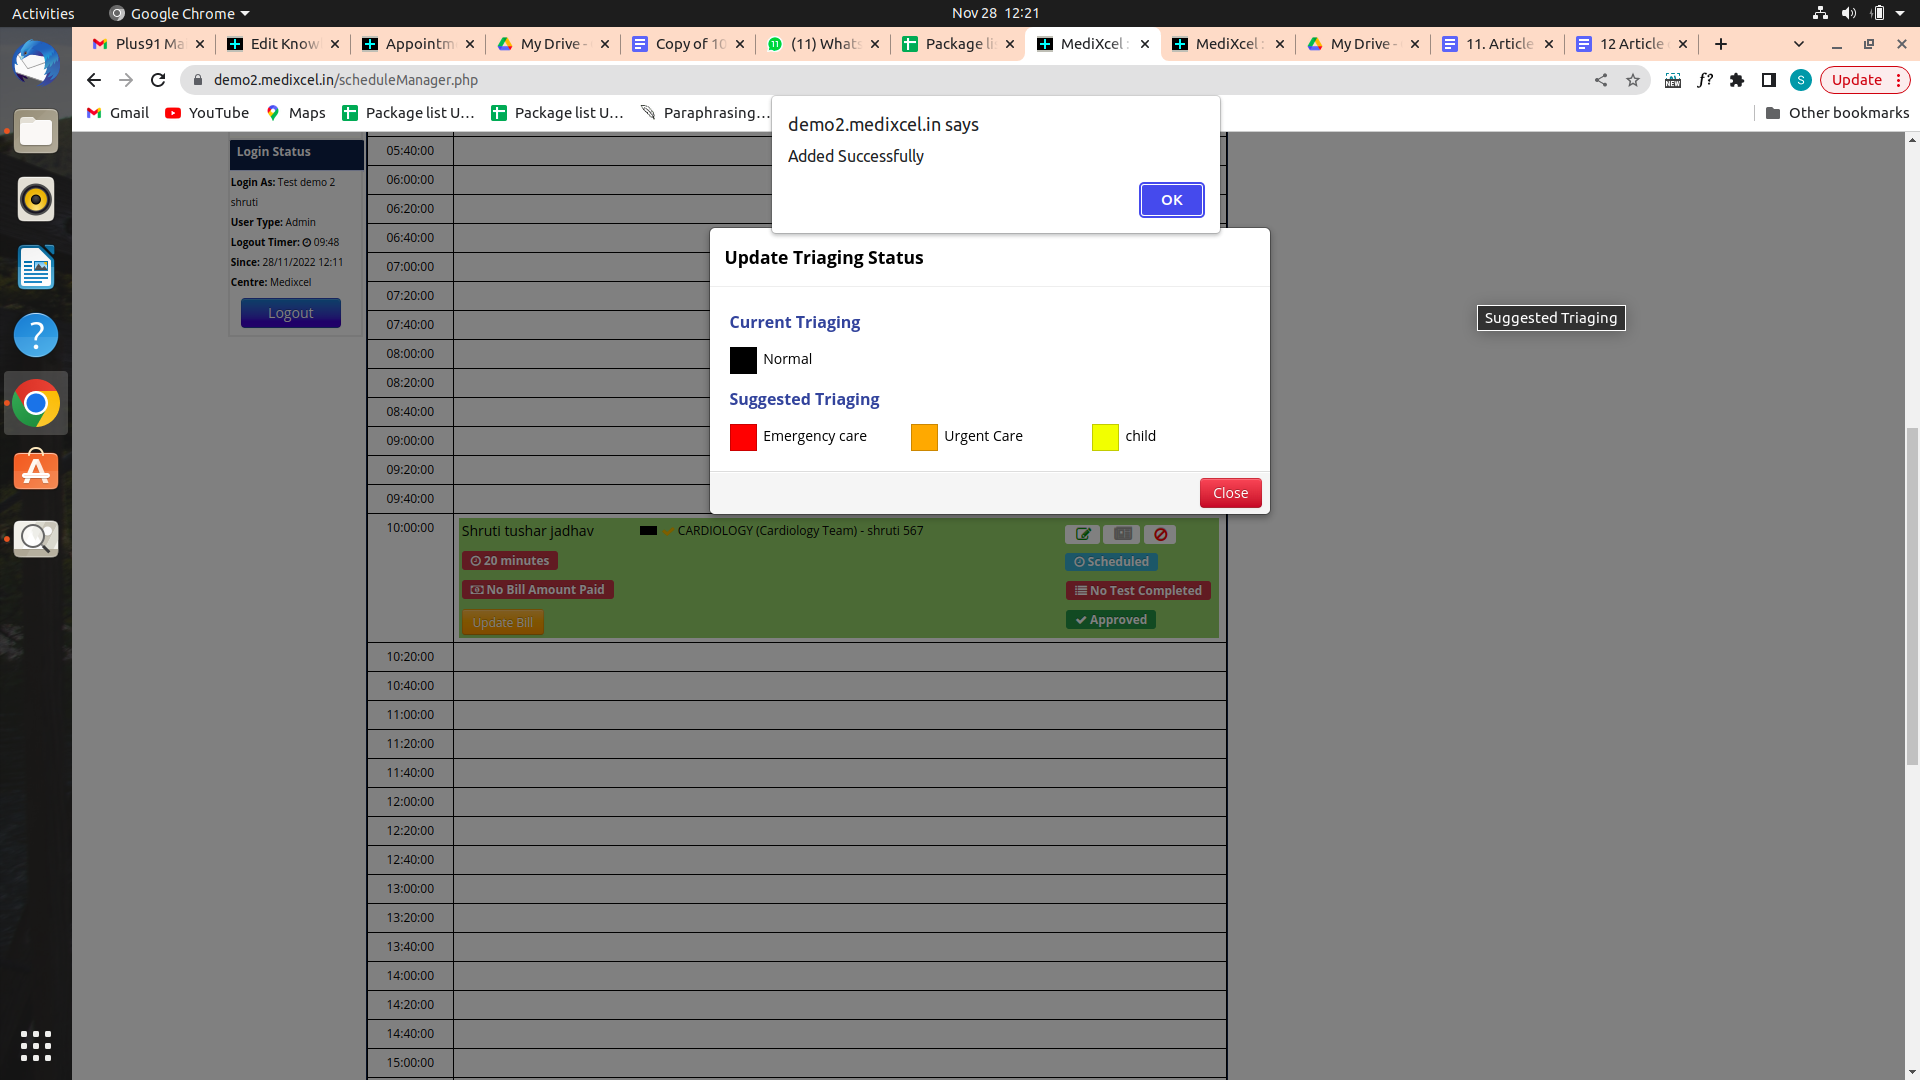
C. Once you click on the OK button again open a new pop-up screen
7. Once you update the status, this will be reflected in the appointment calendar.
Image 1. Before updating the Triaging status

Image 2. After update the Triaging status
